
Last updated September 20, 2026
Full 25-point door and opener safety check with every visit - springs, cables, rollers, tracks, and your LiftMaster or Chamberlain opener included
You get a price before we start. It does not change when the truck arrives.
 Before
 After
After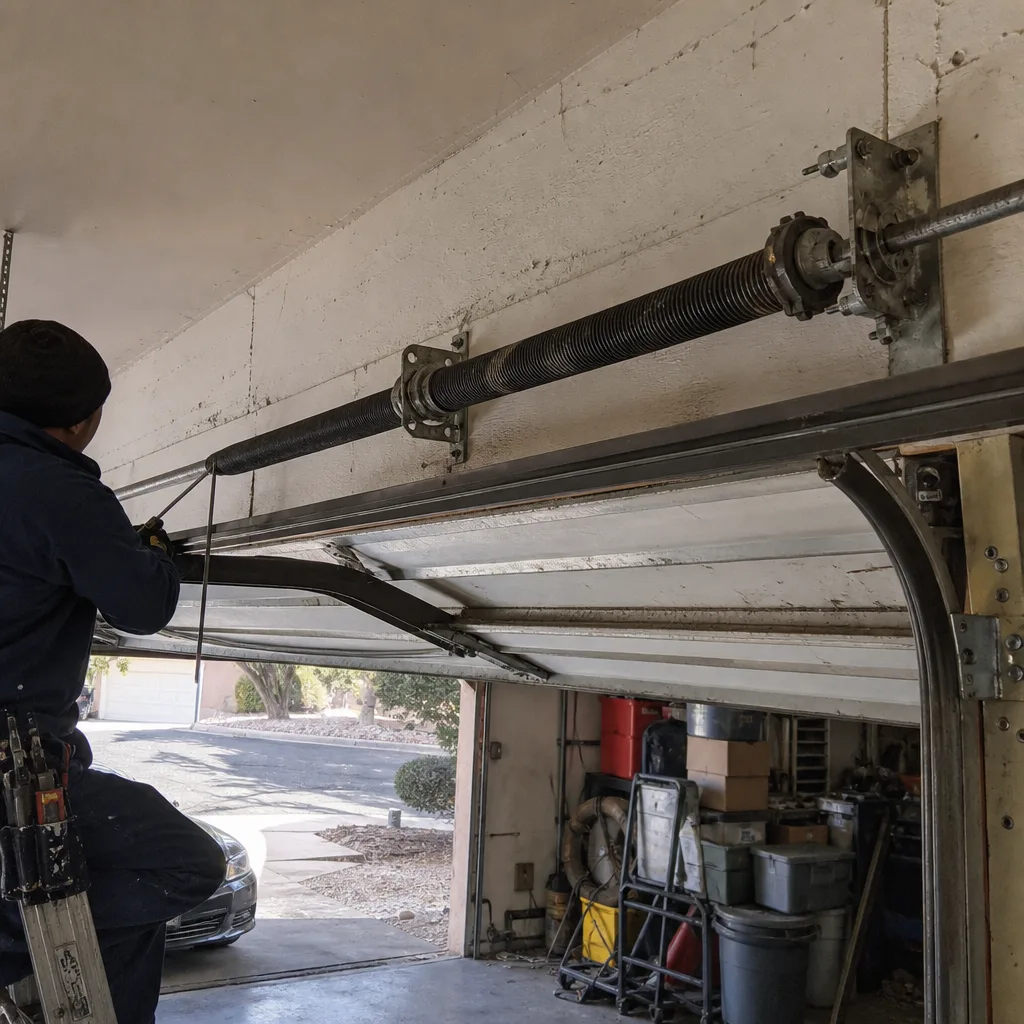 Before
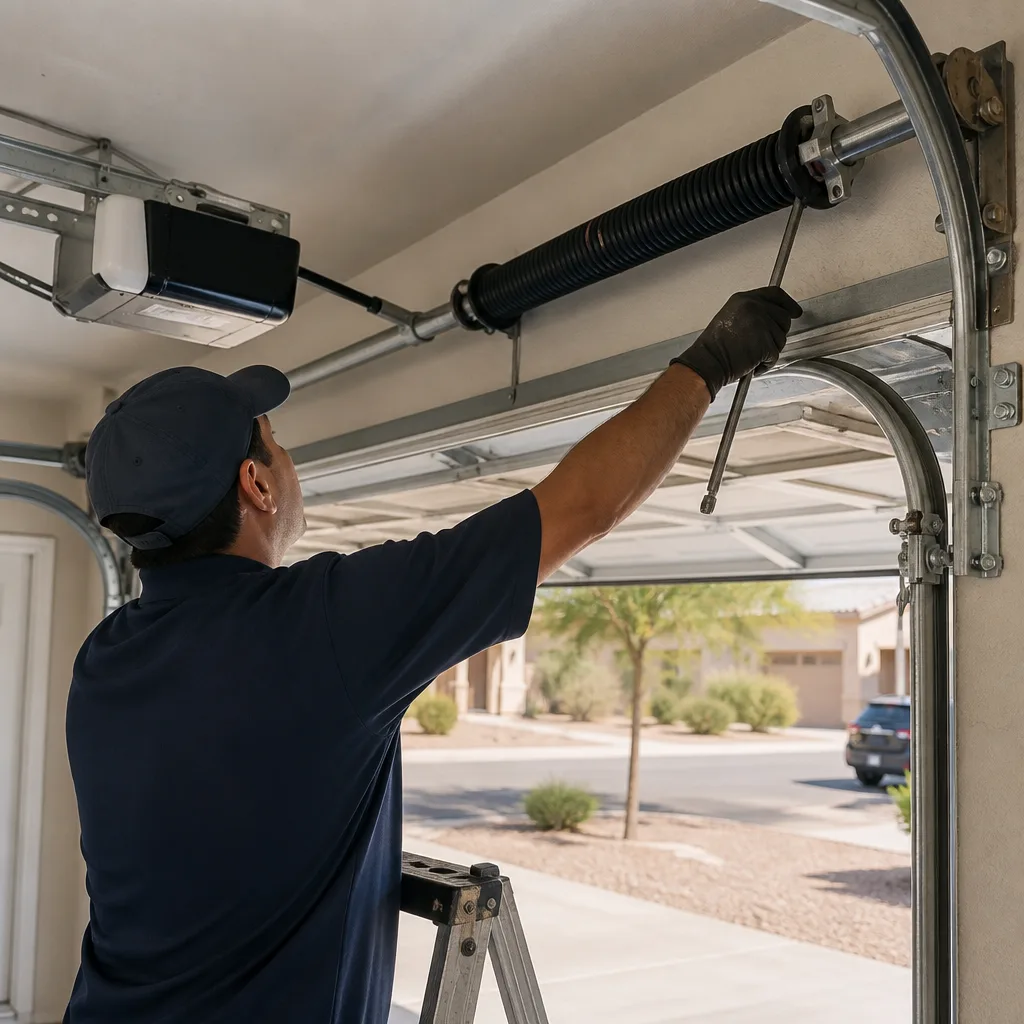 After
After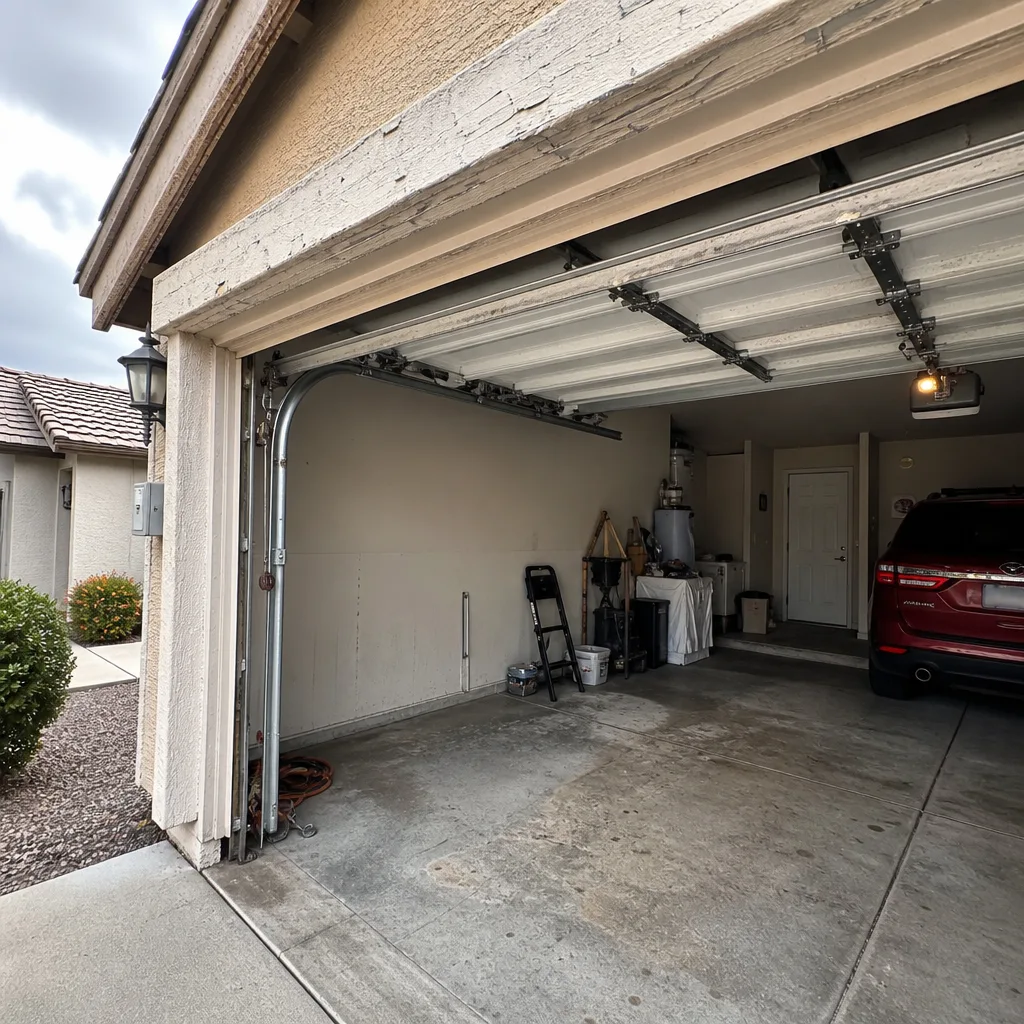 Before
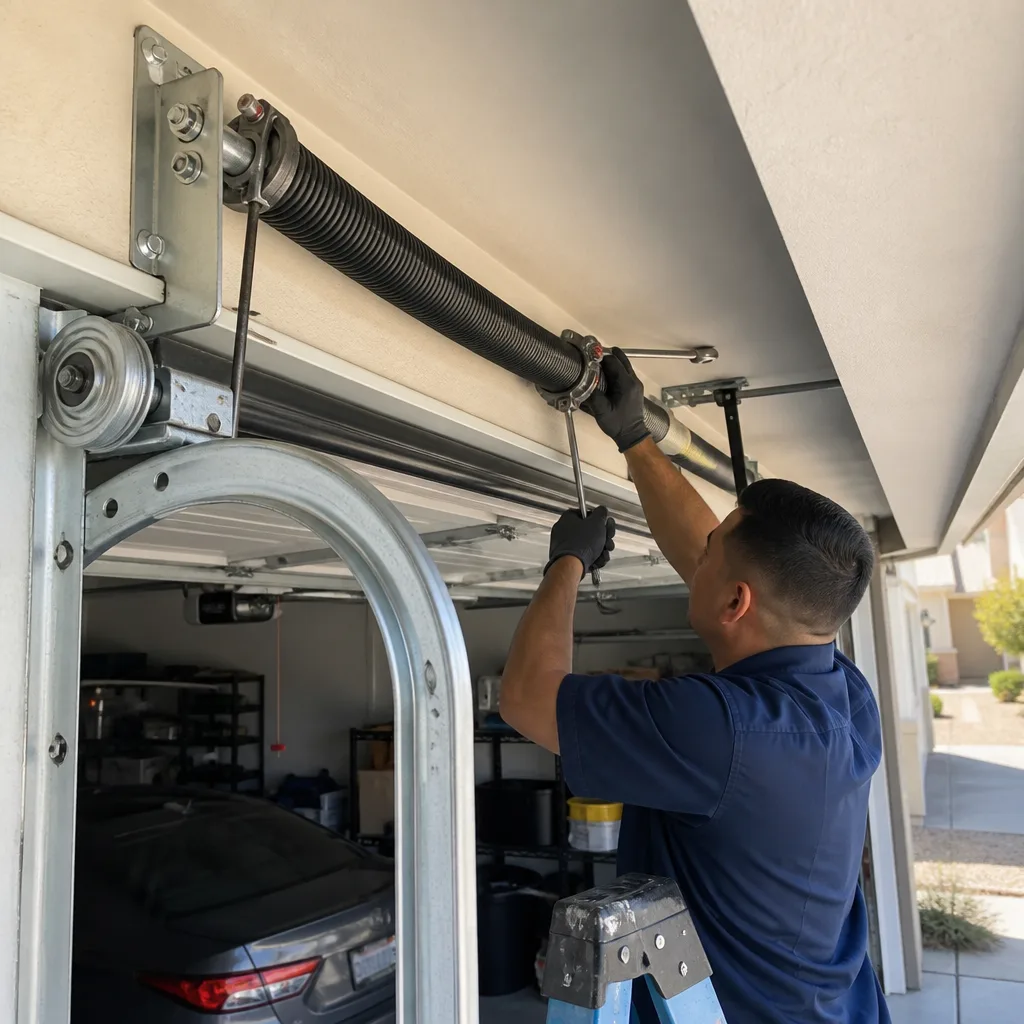 After
AfterDIY vs Professional Garage Door: The Surprise Homeowner’s Decision Guide
The garage door is the heaviest moving object in your home, and in Surprise it cycles roughly 1,000 to 1,500 times a year under triple-digit heat that ages springs faster than any climate in the country. Most homeowners frame the DIY-versus-professional question as a budget decision: can I do this cheaper myself? The real question is narrower and more consequential: which tasks are genuinely homeowner-appropriate, and which ones convert a $300 repair into a homeowners insurance denial or a permit violation that surfaces at resale. This guide breaks down every common garage door task by consequence level, gives you the actual Surprise market numbers, and shows you how to use DIY work where it is safe and professional work where it is not.
Quick Answer
In Surprise, AZ, the DIY-versus-professional decision on a garage door comes down to stored energy and permit triggers, not skill or tool ownership. Homeowners can safely handle weatherseal replacement, lubrication, remote reprogramming, and sensor alignment. Spring work, cable work, and any structural or full-door replacement that is bolted to the wall carries mechanical risk and, in the case of a full replacement, a permit requirement under Maricopa County building code. A broken torsion spring that costs $220 to $380 to replace professionally can cost more than that in tools and urgent care when the winding bar slips.
Table of Contents
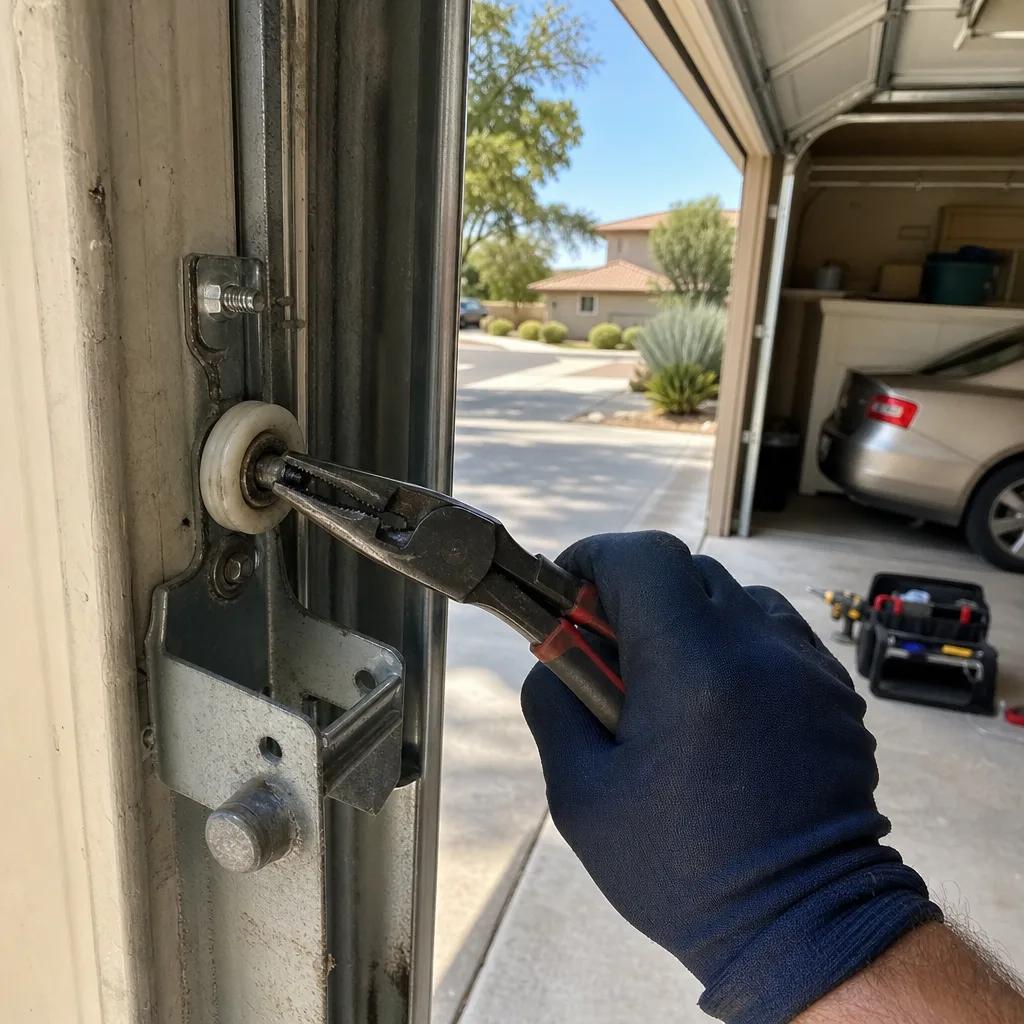
- Task-by-Task Breakdown: What You Can and Cannot Safely DIY
- Torsion Springs: The Real Math Behind Surprise’s Most Searched DIY Job
- The Tool Cost Reality Check: What DIY Actually Costs in Surprise
- Permit Triggers: When DIY Becomes an Unpermitted Installation
- How to Use DIY Inspection to Get a Better Professional Outcome
- Extension Spring Safety Cables: The Mistake We Photograph Most Often
- What DIY Genuinely Saves You Money On in Surprise
- Common Mistakes to Avoid
- When to Call a Professional
- Frequently Asked Questions
- The Bottom Line
BeforeAfterTask-by-Task Breakdown: What You Can and Cannot Safely DIY
The useful way to think about garage door work is not by task difficulty but by failure consequence. A task that is easy to perform but dangerous to get wrong is not a DIY task. Here is the breakdown we use when Surprise homeowners ask us which jobs they can handle themselves. You will notice we recommend some DIY work without hesitation. That is because the right answer is not always “call us.” It is “call us for the jobs where the consequence of a mistake is a projectile or a structural failure.”
Before you touch any component, understand the two energy systems at play. A garage door weighs somewhere between 130 and 400 pounds depending on material and insulation. The springs, not the opener motor, do the lifting. When the door is down, a torsion spring holds a massive amount of stored mechanical energy. When the door is up, it is the cables and spring tension holding it there, not the opener. This is why a door can crash down when a spring breaks: the opener was never designed to catch a falling door.
Homeowner-Appropriate: What You Can Do This Weekend
These four tasks carry minimal mechanical risk and require no permit in Surprise. You can complete all of them with tools you likely already own, or a single trip to a hardware store under $40.
Weatherseal and bottom seal replacement: The rubber strip on the bottom of the door cracks and flattens in Surprise heat within 2 to 4 years. You will see daylight under the door or feel hot air bleeding into the garage. Replacing it is a slide-out, slide-in job on most doors. Cost: $12 to $28 for the seal. Time: 30 minutes. Risk: none, the door stays in place and there is no tension involved.
Lubrication: A garage door should be lubricated every 6 months in Surprise, where heat accelerates drying. What you are lubricating is the hinges, the rollers, the bearing plates, and the torsion spring itself. The tracks should stay dry; grease in the tracks causes the rollers to drag and creates the grinding noise people mistake for a failing opener. Use a white lithium or silicone spray, never WD-40. Cost: $8 to $15. Time: 20 minutes. Risk: none, provided the door is closed and the opener is unplugged.
Remote and keypad reprogramming: If your Chamberlain or Genie remote stopped working after a power surge or a battery replacement, the fix is usually a 10-second pairing sequence. The learn button on the opener unit is the small colored square near the light lens. Press it, then press the remote button. If that does not work, the issue is likely the logic board or a receiver antenna, which is a repair job. Cost: $0 if it pairs, $5 to $15 for batteries. Risk: none.
Sensor alignment: The photo eye sensors at the bottom of each track have small indicator lights. When both lights are solid, the sensors are aligned. When one blinks, it is not seeing the other sensor. The fix is usually a gentle adjustment of the sensor bracket or cleaning the lens. Cost: $0. Time: 10 minutes. Risk: none. Note that persistent sensor faults are sometimes a wiring issue rather than alignment, and that is a diagnostic best left to a technician with a multimeter.
Not DIY: Where the Consequences Outweigh the Savings
Spring replacement. Cable replacement. Drum and bearing plate work. Bottom bracket replacement. Any structural bracket that is bolted to the wall or to the door itself. We address the spring and cable risks in detail below, but the short version is this: these components are under load even when the door is closed, and the failure mode is not a jammed door. It is a steel part traveling at high speed.
Full door replacement is a different category entirely. It is not that a homeowner cannot physically assemble a new door. It is that in Surprise, a full replacement triggers a building permit, and doing it without one has a paper trail that follows the property. More on that below.
Torsion Springs: The Real Math Behind Surprise’s Most Searched DIY Job
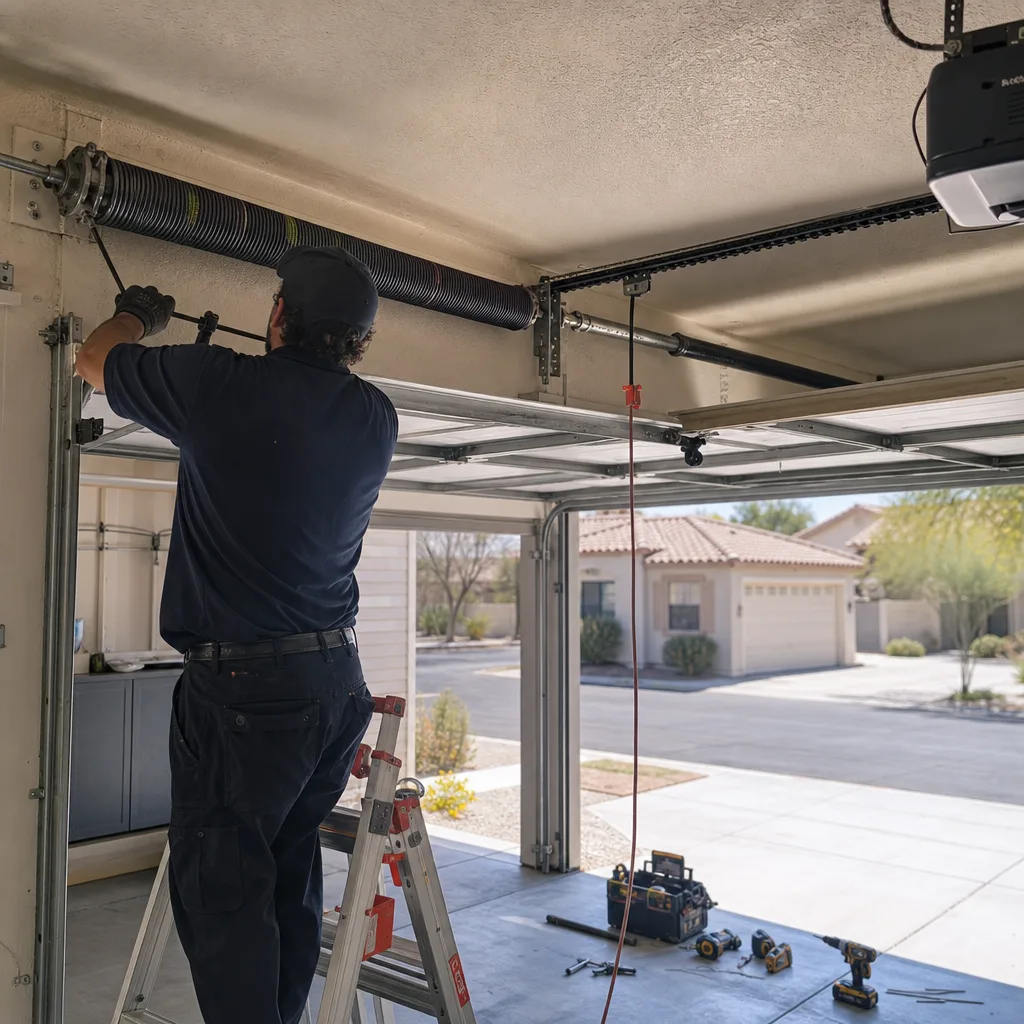
Torsion spring replacement is the most commonly searched garage door DIY task, and it is the job that sends the most Maricopa County homeowners to urgent care every year. Search for “how to replace a garage door spring” and you will find videos that make it look like a 45-minute job with two metal rods. What the videos do not show is what happens when the winding cone slips out of the set screws mid-wind, or when a homeowner uses a screwdriver instead of proper winding bars because they did not want to spend $35 on the right tool.
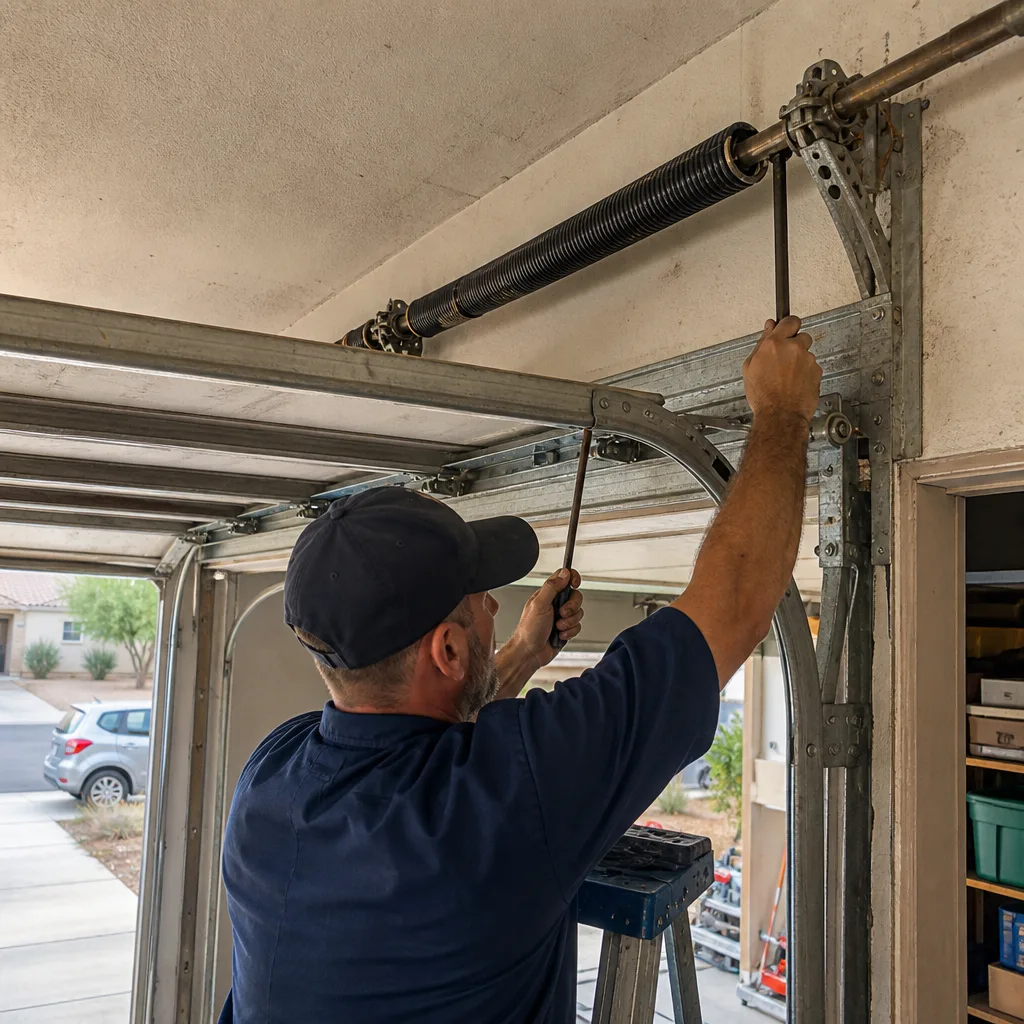
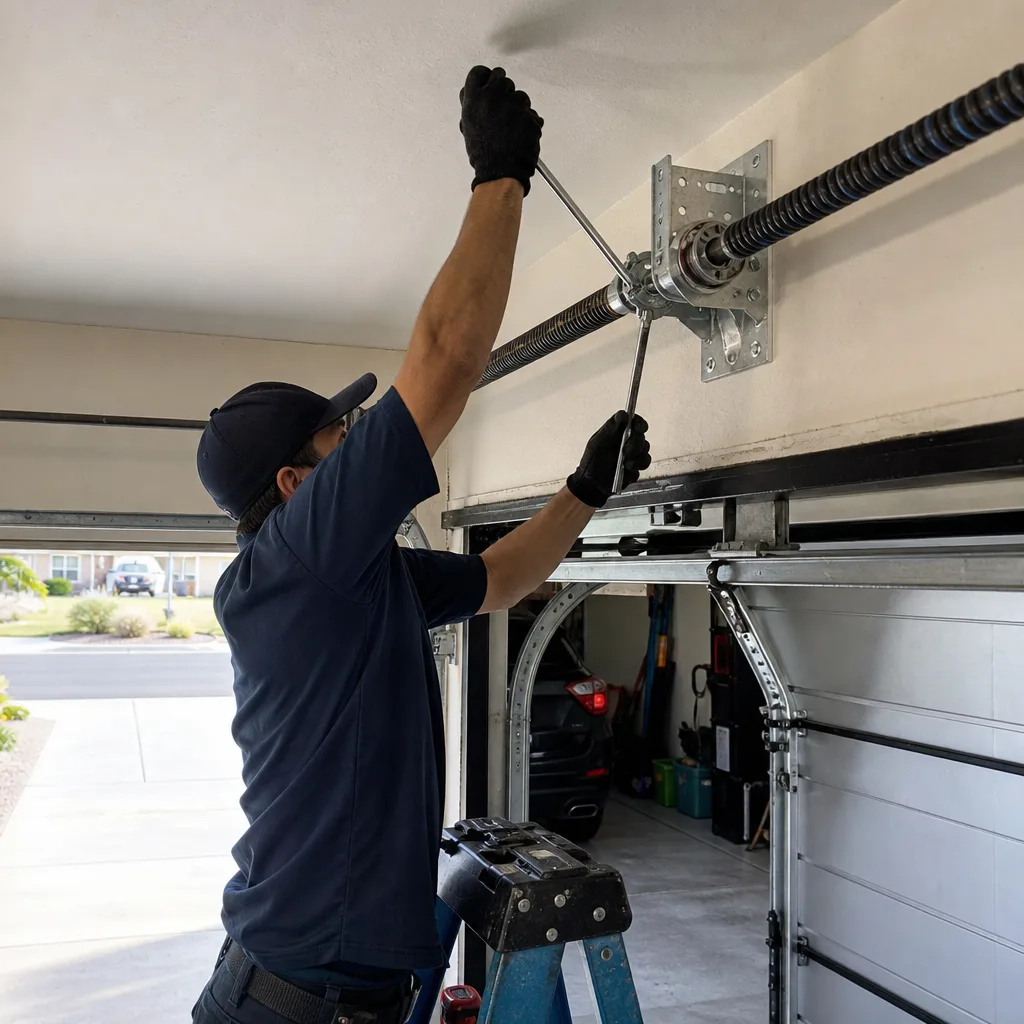
The spring is not in a resting state when the door is closed. A standard 2-car torsion spring in Surprise is wound between 7 and 8 full turns, holding roughly 90 to 130 foot-pounds of stored torque. That energy is released into the winding bar if the cone slips. The bar becomes a lever, and the bar is in your hand. The injury pattern we see is forearm fractures and facial lacerations. Not jammed fingers. Broken bones and deep cuts.
The second issue is that torsion spring work is specification-driven, not effort-driven. The spring is not a universal part. It is sized by wire diameter, inner diameter, length, and wind direction. A spring that is one wire-diameter step too light will cycle the door but fail within months. A spring that is one step too heavy will lift the door faster than the opener can track it and strain the gear and sprocket assembly. The correct spring for a 16×7 insulated door in Surprise is typically a .234-inch wire diameter, 2-inch inner diameter, 30 to 32 inch length, right-wound. If you do not know those numbers for your door, you are guessing.
Professional replacement in Surprise runs $220 to $380 for a standard torsion spring pair, including the springs, labor, and a safety inspection of the cables, drums, and bearing plates while the technician is there. When we replace a spring, we photograph the broken spring before removing it, measure the wire diameter with a caliper, and show the homeowner the measurement against the replacement spec. That is Clause 4 of The Haven Standard, the founding rule at Servo Garage Doors: you see the failed part before anyone quotes a replacement.
And here is the part most DIY videos skip: a spring replacement is one of the only jobs where getting it almost right is the same as getting it wrong. The door will open. It might even balance. Then six months later, the spring snaps or the door flies up unbalanced and pulls a cable off the drum. The repair now costs more than the original quote because you are paying to unwind a homeowner-installed spring, redo the job, and repair the secondary damage.
If you take one thing from this guide, let it be this: when a Surprise homeowner tells you they are considering a DIY torsion spring replacement, the correct response is not “you can not do it.” It is “you should not do it, and here is the math on why.” The savings is $150 to $250 after tools. The downside is a broken forearm or a door that crashes onto your car. That is not a trade most people would make if they saw it written down first.
The Tool Cost Reality Check: What DIY Actually Costs in Surprise
The argument for DIY spring replacement is usually framed as “$30 for the spring versus $300 for a pro.” That framing crumbles the moment you price the minimum tool set required to do the job without improvising. Improvising is where the injuries happen, so here is what a safe DIY torsion spring job actually costs in Surprise in 2026.
Minimum Safe Tool Investment for One Torsion Spring Replacement
- Winding bars: $25 to $45 for a proper pair of hardened steel bars, 18 inches long, 1/2-inch diameter. The $9 pair of screwdrivers in your toolbox is not a substitute. Winding bars must extend fully through the winding cone. A screwdriver that is too short will bind and slip.
- Replacement spring(s): $40 to $90 per spring depending on wire diameter and cycle rating. Note that high-cycle springs, rated for 25,000 cycles instead of 10,000, cost more but last roughly 2.5 times longer in Surprise heat. Most professional quotes include high-cycle springs by default.
- Spring sizing reference: $0 if you know how to measure wire diameter correctly with a caliper. $15 to $40 for a caliper if you do not already own one. Guess at wire diameter and you will buy the wrong spring.
- Safety glasses: $8 to $15. Not optional. A spring under tension can throw metal fragments when it breaks, and you are winding it in the failure zone.
- Socket set and wrenches: $25 to $60 if you do not already own metric and SAE sockets. Set screws on winding cones are usually 3/8-inch or 7/16-inch hex.
- Vice grips or locking pliers: $15 to $25 to hold the shaft in place while loosening the old spring.
Total realistic investment: $130 to $275 for tools and parts on a single spring replacement, before your time. The professional quote in Surprise for the same single-spring job is $220 to $380 at Servo Garage Doors, and that includes the spring pair, the winding, the balance test, the cable and drum inspection, and a documented photo record of the work. The savings from doing it yourself is somewhere between $0 and $150, and it assumes you complete the job without injury and without buying the wrong spring on the first attempt.
Then there is the time cost. A homeowner’s first torsion spring replacement is a 3 to 6 hour job, including YouTube research, the trip to the hardware store, the first winding attempt, and the inevitable adjustment when the door does not balance. If you value your weekend at even $20 an hour, the math tips toward calling a pro on pure economics, before you even account for the urgent-care deductible.
Permit Triggers: When DIY Becomes an Unpermitted Installation
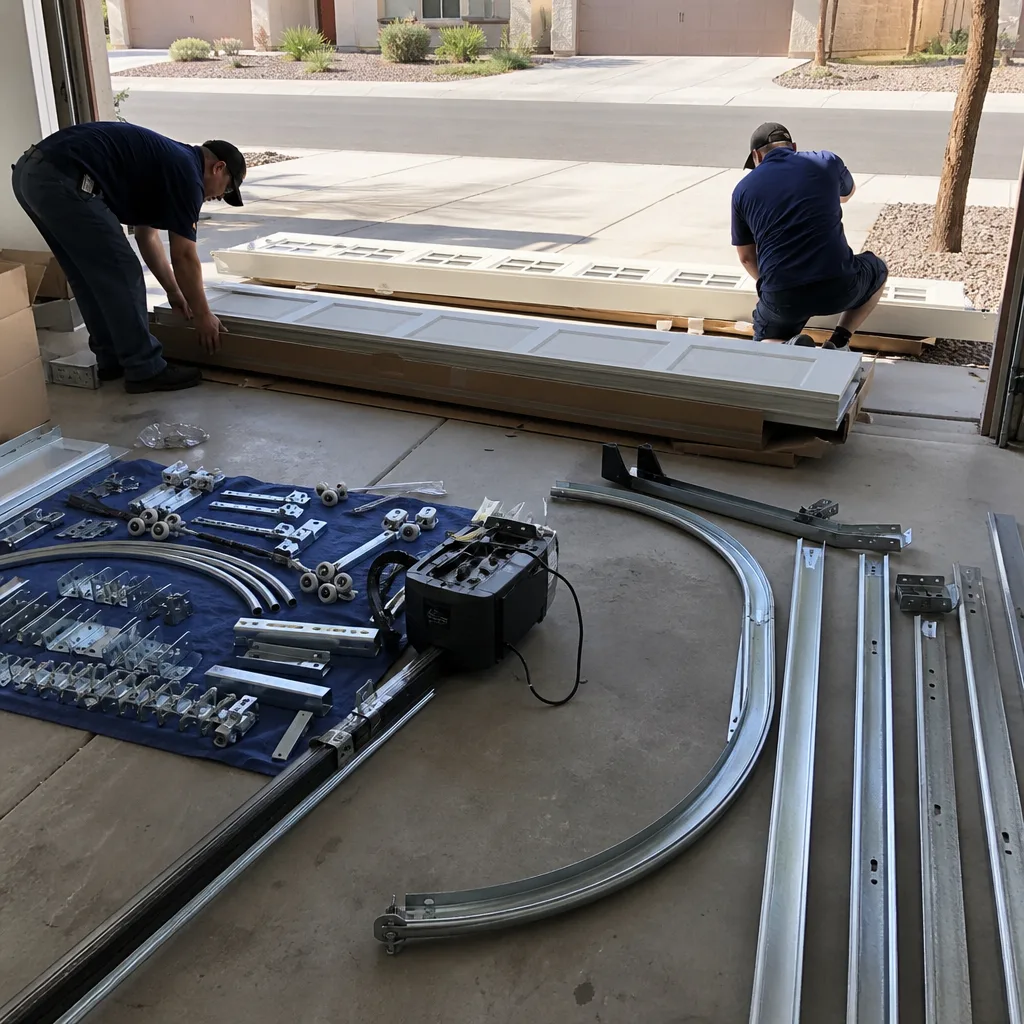
Here is the piece of the DIY-versus-professional conversation that almost no website covers, and it matters more in Surprise than most homeowners realize. A full garage door replacement, including a new door, new tracks, new springs, and new track mounting brackets bolted to the wall, is a structural modification under Maricopa County building code. It triggers a building permit requirement.
What counts as a permit-triggering replacement? If you are only swapping the door panels and reusing the existing tracks and mounting hardware, some jurisdictions treat that as a surface replacement, not a structural one. If you are replacing the tracks, the mounting brackets, or the spring system, or if you are changing the opening size or the door weight, you are doing structural work. That requires a permit, and the work must pass inspection.
The consequences of a DIY unpermitted replacement are not immediate. The door will operate. No one will show up at your house. The problem surfaces at resale. Arizona law requires sellers to disclose known unpermitted work on the property. A buyer’s home inspector will flag a garage door that was replaced without a permit if the mounting pattern does not match the original or if the door was replaced after the original build date and no permit record exists. The sale either stalls or the seller eats a price reduction to cover the cost of retroactive permitting and inspection.
This is not a hypothetical edge case. We see it regularly in Surprise when a homeowner bought a house with a DIY-replaced door, and now they are trying to sell. The fix is not free: retroactive permits require the work be inspected, which usually means a professional has to review the installation and correct any code violations before the inspector signs off. A door that was installed by a licensed contractor with a permit has none of these problems.
If you are considering a full replacement in Surprise, the professional route is the only route that does not create a disclosure liability. A garage door installation in Surprise done by a licensed company includes the permit application, the inspection coordination, and a paper trail that follows the property in your favor, not against you.
One more note on permits and springs: a spring-only replacement does not require a permit in Surprise, because it does not change the door’s structural configuration. That is why spring replacement is the most common repair, and why the DIY-versus-professional question on springs is purely a safety and specification issue, not a code issue. The permit question only applies to full replacements where the door, tracks, or mounting system changes.
How to Use DIY Inspection to Get a Better Professional Outcome
This is where DIY work actually pays off, and it is underrated. You do not need to fix the door yourself to save money. You need to inspect it well enough to arrive at a technician call with a named component and a documented condition. That changes the entire dynamic of the service visit. A homeowner who says “the door is broken” gets a diagnostic visit. A homeowner who says “the torsion spring broke at the coil on the left side, the door is down and will not lift, and the cable is still on the drum” gets a truck stocked for that specific repair on the first visit.
Here is the DIY inspection process we recommend to every Surprise homeowner, and it takes about 10 minutes. You can do this before you call anyone, including us.
- Look at the springs first, not the opener. If the door will not open, and the spring above the door has a visible gap in the coil, that is a clean break. The opener is fine. Do not run the opener trying to lift a door with a broken spring; the opener motor will burn out fighting a door it was never designed to lift.
- Check the cables. With the door down, look at the cables that run from the bottom corners up to the drums at the top of the shaft. If one is slack, frayed, or off the drum, the door is dangerous to move. Leave it down and photograph it.
- Check the rollers and hinges. Look for cracked hinge plates, rollers worn to a flat edge, or track bends. These are supporting components. A worn roller replacement is $10 to $20 in parts.
- Test the balance. With the opener disengaged (pull the red release handle), lift the door manually to about waist height. If it stays, the springs are balanced. If it drops, the springs are weak or broken. If it flies up, the springs are too strong. Any of these is a spring issue.
- Photograph everything you find. Take photos of the broken spring, the slack cable, the worn roller, the bent track. These photos do two things: they help the dispatcher identify the right technician and the right parts for the first visit, and they create a record of the door’s condition before anyone touches it.
This inspection habit is the exact thing Servo Garage Doors was built on. Before we quote a replacement part, the technician photographs the failed component and shows it to you. You are not being asked to trust a verbal description of a part you cannot see. That is Clause 4 of The Haven Standard, and it exists because Marcus Deller started this company in 2015 after watching too many homeowners pay for replacements based on a technician’s say-so. The photo record is not optional at Servo. It is the entire point.
When you call a Surprise garage door company and describe what you photographed, you are doing two things: filtering out the companies that will send a salesperson instead of a technician, and setting yourself up for a diagnostic that starts with evidence, not with a quote. The photo you take before the visit becomes the photo the technician verifies against. That is how you get a better professional outcome without touching a winding bar.
Extension Spring Safety Cables: The Mistake We Photograph Most Often
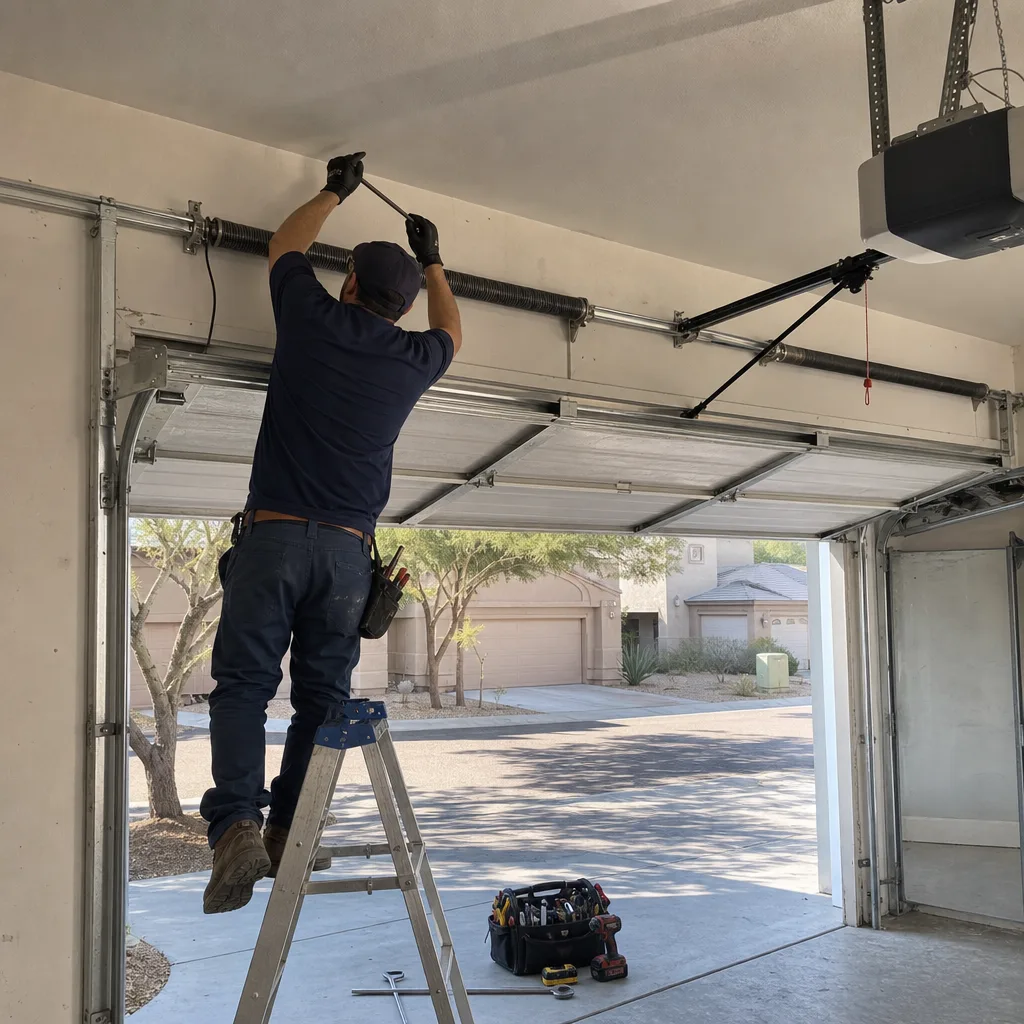
There is one DIY mistake we photograph more than any other in Surprise, and it is not what you would guess. It is not a mis-wound torsion spring. It is the missing safety cable on an extension spring system.
Extension springs stretch alongside the horizontal tracks on older doors. They are less common than torsion springs on modern homes, but they still exist throughout Surprise’s 2000s-era neighborhoods, including original builds in Marley Park, Sundial, and the older sections of Sierra Montana. Unlike torsion springs, which are contained on a shaft, extension springs stretch and contract freely. When they break, the broken spring flies backward or forward under full tension release.
The safety cable is a steel wire that runs through the middle of the spring and is anchored at both ends. Its entire purpose is to catch the spring when it breaks and keep it from becoming a projectile. When a DIY homeowner replaces an extension spring and does not run the safety cable through the new spring, or removes the old spring and never installs the cable, the door still works. It looks fine. Then the spring breaks, and the broken steel coil travels through whatever is in its path: a car quarter panel, a drywall wall, or a person standing in the garage.
We see this on roughly 1 in 4 extension spring doors that come through our garage door repair in Surprise service. The homeowner did the spring replacement themselves, or a handyman did it, and the safety cable was either omitted or never even in place to begin with. The fix is inexpensive: a pair of safety cables costs about $20 to $30, and installation is a 30-minute job that requires no tension work and no permit. It is a legitimate DIY task if you know to do it.
Here is what to check on your extension spring door: look at the spring alongside the track. You should see a metal wire running through the center of the spring, anchored at the front and rear mounting brackets. If the wire is missing, corroded, or hanging loose, do not operate the door. Call a professional or, if you are confident in a proper installation, purchase the correct cable and follow the manufacturer’s anchoring instructions. The consequence of getting this wrong is a steel projectile in your garage, and that is not a trade-off anyone should accept for the cost of a $25 part.
What DIY Genuinely Saves You Money On in Surprise
The point of this guide is not to convince you that professionals should handle everything. That would be false, and it would be bad advice. There is a category of garage door maintenance where DIY is genuinely the right call in Surprise, and we tell homeowners to do these jobs themselves every week. Here is the honest list.
Weatherseal replacement: The bottom rubber seal on a Surprise garage door lasts 2 to 4 years before heat cracks it. A DIY replacement costs $12 to $28 and takes 30 minutes. A professional replacement costs $85 to $140 because you are paying for the truck roll and the labor. This is a legitimate DIY win. Do it.
Lubrication: Twice a year, 20 minutes, $10 in lubricant. There is no professional version of this job that does anything different. We tell customers to buy a can of white lithium grease and a can of silicone spray and do it themselves. The only caveat: keep the tracks dry and unplug the opener before you start.
Remote reprogramming: If the remote stopped working and the opener is under 15 years old, try the learn button before you call anyone. There is no charge for pressing a button on your own opener. If it does not pair after two attempts, the problem is likely in the opener’s receiver or logic board, and that is a professional diagnosis.
Sensor realignment: Half of the “my door will not close” calls we get in Surprise are sensor misalignment. The sensor bracket got bumped by a garbage can or a child’s bike. Realign it by eye, watch for the solid lights, and test the door. This saves you a $90 diagnostic trip.
Track cleaning and inspection: Wipe the tracks with a dry cloth. Look for bends, gaps, or loose brackets. Do not attempt to straighten a bent track yourself. A bent track changes the door’s travel geometry and puts uneven load on the springs. That is a repair call, not a DIY job.
These five tasks, done consistently, will extend the life of your door and reduce the frequency of professional repair calls. That is the honest DIY play in Surprise: maintenance, not repair. The closer you get to a spring, a cable, or a structural bracket, the more the math flips. The savings disappears, and the consequence curve goes vertical.
Common Mistakes to Avoid
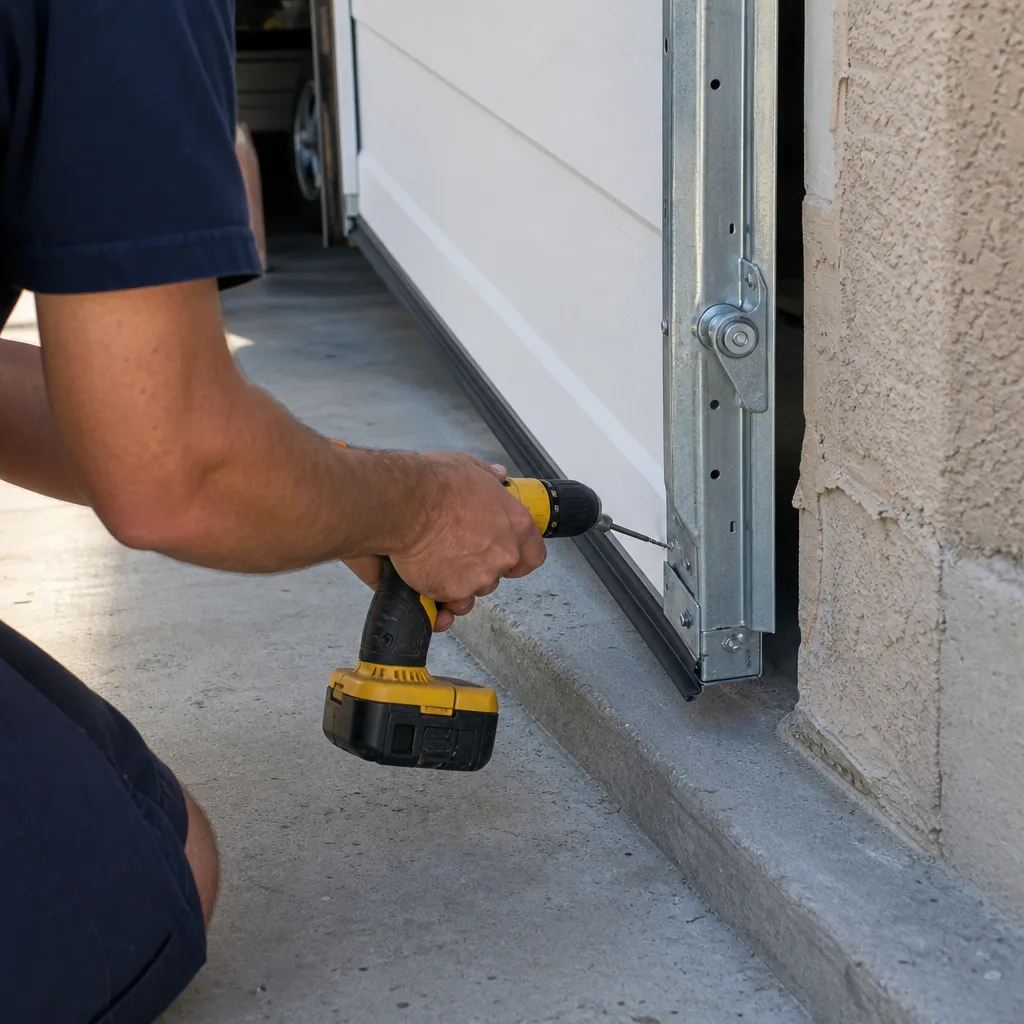
- Using a screwdriver as a winding bar. This is the single most common cause of torsion spring injuries in Maricopa County. A screwdriver shaft is tapered, short, and not hardened for the torque load. It binds, slips, and the spring’s stored energy releases into the tool and the hand holding it. Winding bars cost $25. Do not substitute.
- Running the opener with a broken spring. The opener motor does not lift the door. The spring does. When the spring breaks, the opener strains against 200 to 400 pounds of door it was never designed to move. A $300 spring replacement becomes a $600 spring-and-opener replacement because the gear and sprocket stripped under the load.
- Buying the cheapest replacement spring without checking the wire diameter. A spring is a specification part. The wrong wire diameter changes the balance, shortens the spring’s life, and eventually damages the opener. In Surprise, with our heat cycle load, an undersized spring fails within a year or two.
- Skipping the safety cable on extension spring doors. Covered above, but it bears repeating. A $25 safety cable is the difference between a broken spring that drops harmlessly to the floor and a broken spring that becomes a steel projectile.
- Ignoring the permit requirement on a full replacement. In Surprise, a full door and track replacement requires a permit. DIY replacements without a permit become a disclosure problem at resale. The buyer’s inspector will find it, and the seller pays for it.
- Not photographing the door before contacting a company. Your cell phone photo of the broken spring or the slack cable is the most powerful piece of information you can bring to a service call. It separates a real diagnostic visit from a sales visit, and it protects you from paying for a replacement you cannot verify.
When to Call a Professional
Call a professional the moment the job involves a spring, a cable, a drum, a bearing plate, or a structural bracket. That is the line, and it is not a blurry one. The common thread across all these components is stored mechanical energy under load. A broken torsion spring is not a broken car part that can be swapped with a socket wrench. It is a loaded mechanism that fails violently when mishandled. The same is true for cables: a frayed cable under load can snap during adjustment and lash back at the person working on it.
The other professional-only category is full replacement. It requires a permit in Surprise, it requires a door that is sized and balanced to your opening, and it requires a documented installation record that protects your resale value. This is not a weekend project, and the cost of a bad installation exceeds the cost of a professional one by the time you factor in retroactive permitting, door replacement after a failed DIY track, and the weeks of downtime.
Servo Garage Doors Surprise offers free estimates in Surprise with the written price and written scope delivered before any work begins. Call (928) 588-1812 and tell us what you photographed. We will tell you what it costs before we send a truck.
Frequently Asked Questions
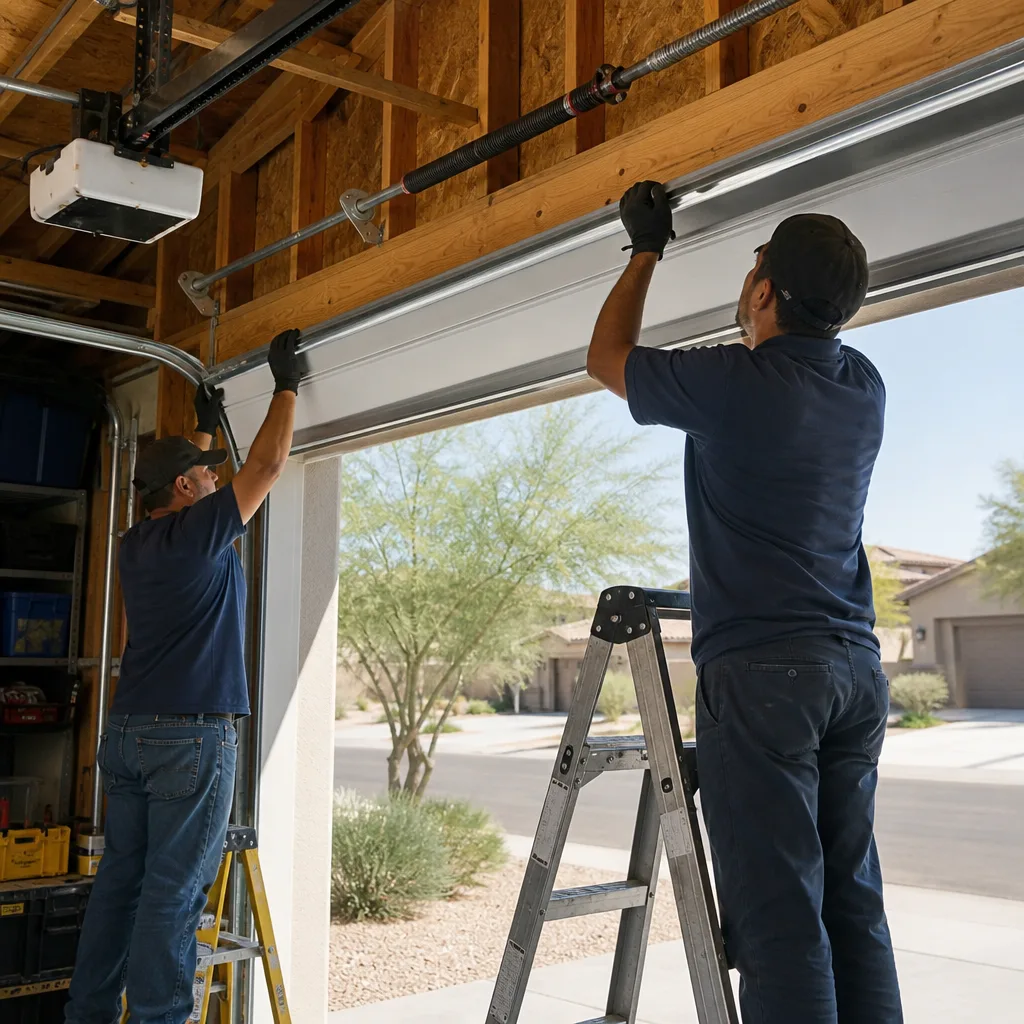
A standard torsion spring pair replacement in Surprise runs $220 to $380 at Servo Garage Doors, including high-cycle springs, labor, and a documented photo record. The price is quoted in writing before any work starts, per Clause 1 of The Haven Standard, and it does not change once the technician arrives. Call (928) 588-1812 for an exact quote based on your door’s spring spec and weight.
Arizona does not prohibit homeowners from replacing their own garage door springs, but that does not make it a good idea. Torsion springs store enough torque to fracture a forearm when a winding bar slips, and the tool cost erases most of the savings. Extension spring systems require safety cables that DIYers frequently omit. We recommend professional spring replacement for the same reason we photograph every failed spring before quoting it: the risk is visible once someone shows it to you.
A full garage door replacement that changes the door, tracks, or mounting brackets does require a permit in Surprise under Maricopa County building code. A spring-only replacement does not. An unpermitted full replacement becomes a disclosure liability at resale, which is why professional installation with permit handling is the lower-cost option over the lifetime of the home.
Standard 10,000-cycle springs last 7 to 10 years in Surprise depending on cycle frequency and heat exposure. High-cycle 25,000-cycle springs typically last 15 to 20 years. The Arizona sun and the heat in an uninsulated garage accelerate spring wear, which is why we install high-cycle springs by default on every replacement.
Weatherseal replacement, lubrication, remote reprogramming, sensor alignment, and track cleaning are all legitimate DIY maintenance tasks. They cost under $50 in materials, require no permit, and carry minimal risk. The closer a task gets to springs, cables, or structural brackets, the more it belongs with a professional.
Because Clause 4 of The Haven Standard requires it. The rule exists because Marcus Deller founded Servo Garage Doors in 2015 on the principle that a customer should see the evidence of a failure before paying to fix it. Every visit produces a documented photo record of what was found and what was done, and you receive that record when the technician leaves. Call (928) 588-1812 if you want a garage door company in Surprise that shows you the broken spring before quoting the replacement.
Yes. Our trucks are stocked for the most common Surprise repair jobs: torsion springs across the common wire diameters, extension spring safety cables, rollers, hinges, bottom brackets, photo eye sensors, and the major garage door opener repair parts for LiftMaster, Chamberlain, and Genie. Most spring and cable repairs are completed on the first visit. Call (928) 588-1812 and describe what you photographed, and we will confirm what is on the truck before we dispatch.
The Bottom Line
The DIY-versus-professional question for garage doors in Surprise is not a budget question. It is a consequence question. Maintain the door yourself: lubricate it, seal it, reprogram it, and photograph it when something looks wrong. That work is safe, cheap, and genuinely yours to own. Repair is different: springs, cables, drums, and structural brackets store enough energy to break bones when a tool slips, and full replacements carry a permit trail that follows the property at resale. When you add up the tool cost on a DIY spring replacement against a $220 to $380 professional quote with a written price and a documented photo record, the savings mostly disappears. What remains is risk. The smart Surprise homeowner does the small things himself and calls a professional when the part under load fails.
Written by Marcus Deller, Owner at Servo Garage Doors Surprise, serving Surprise since 2015.