
Last updated September 20, 2026
Full 25-point door and opener safety check with every visit - springs, cables, rollers, tracks, and your LiftMaster or Chamberlain opener included
You get a price before we start. It does not change when the truck arrives.
 Before
 After
After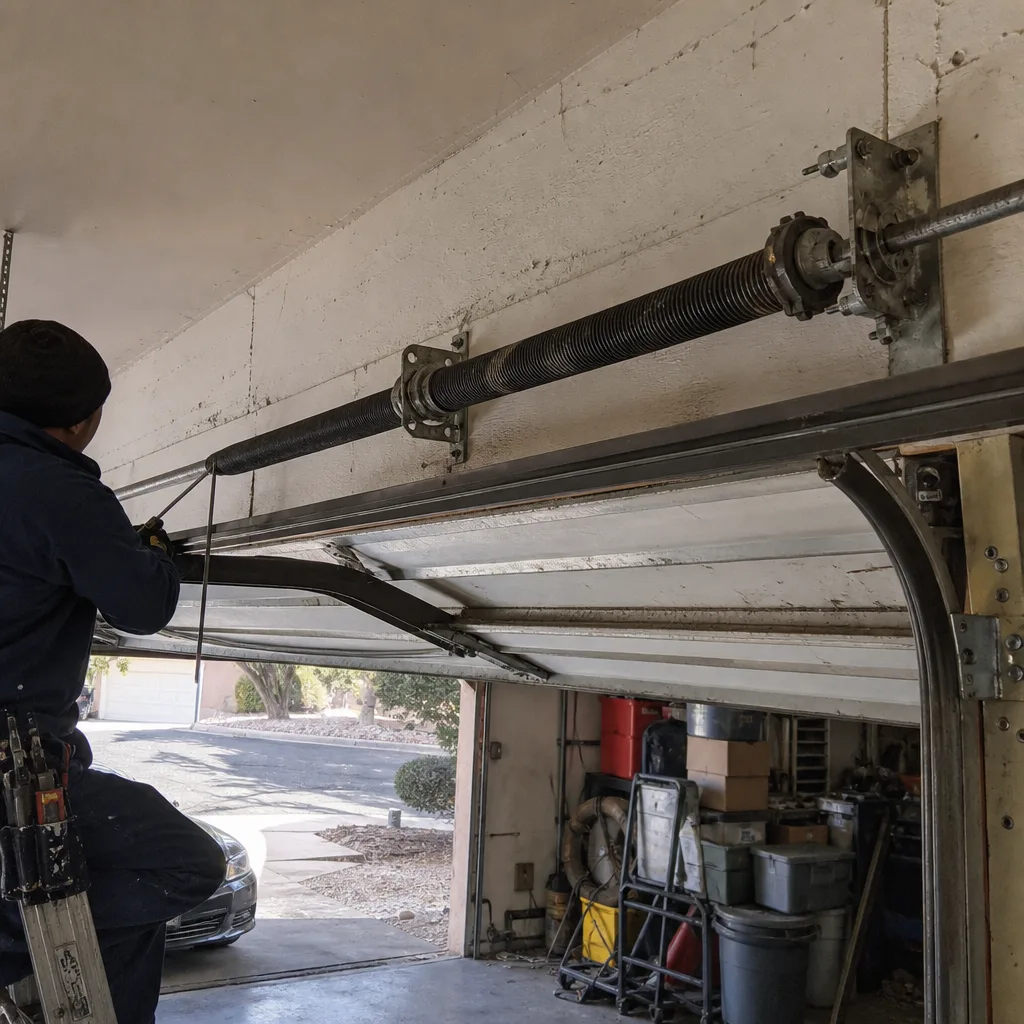 Before
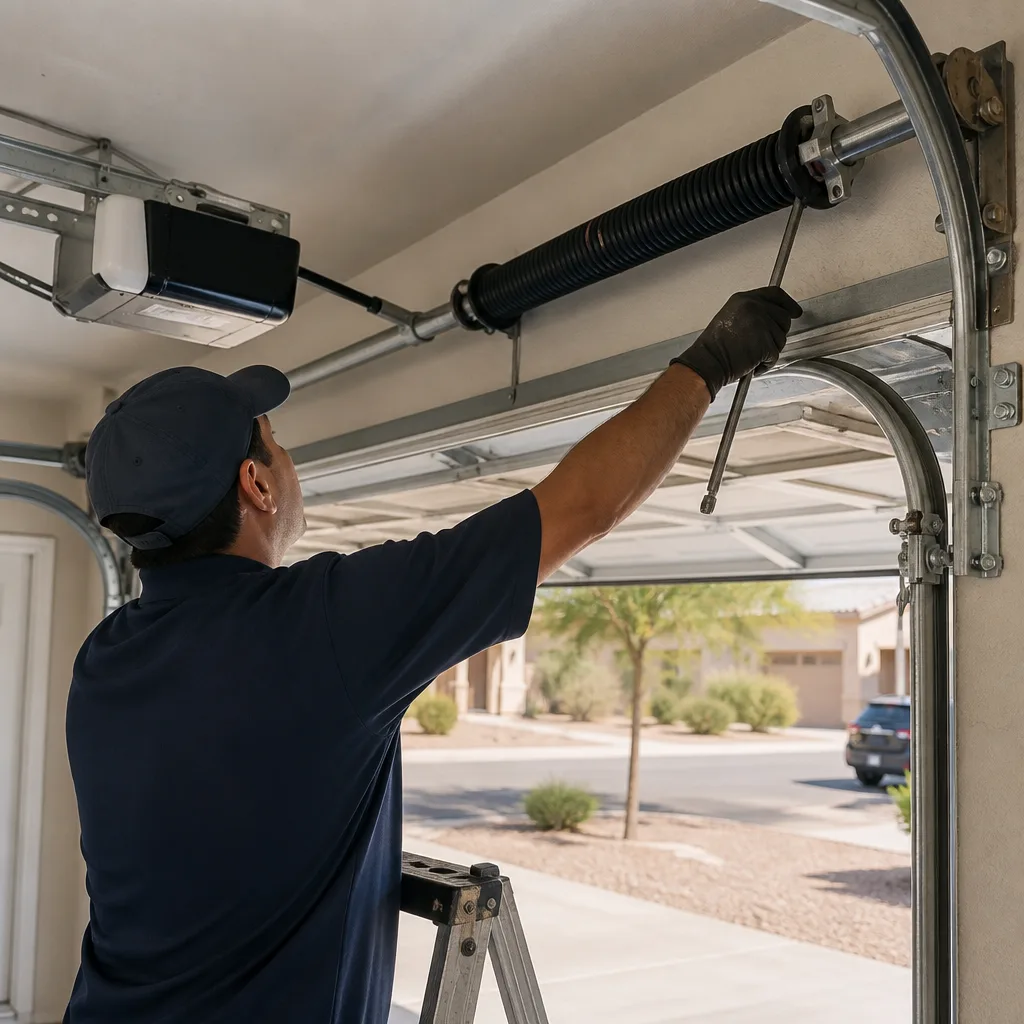 After
After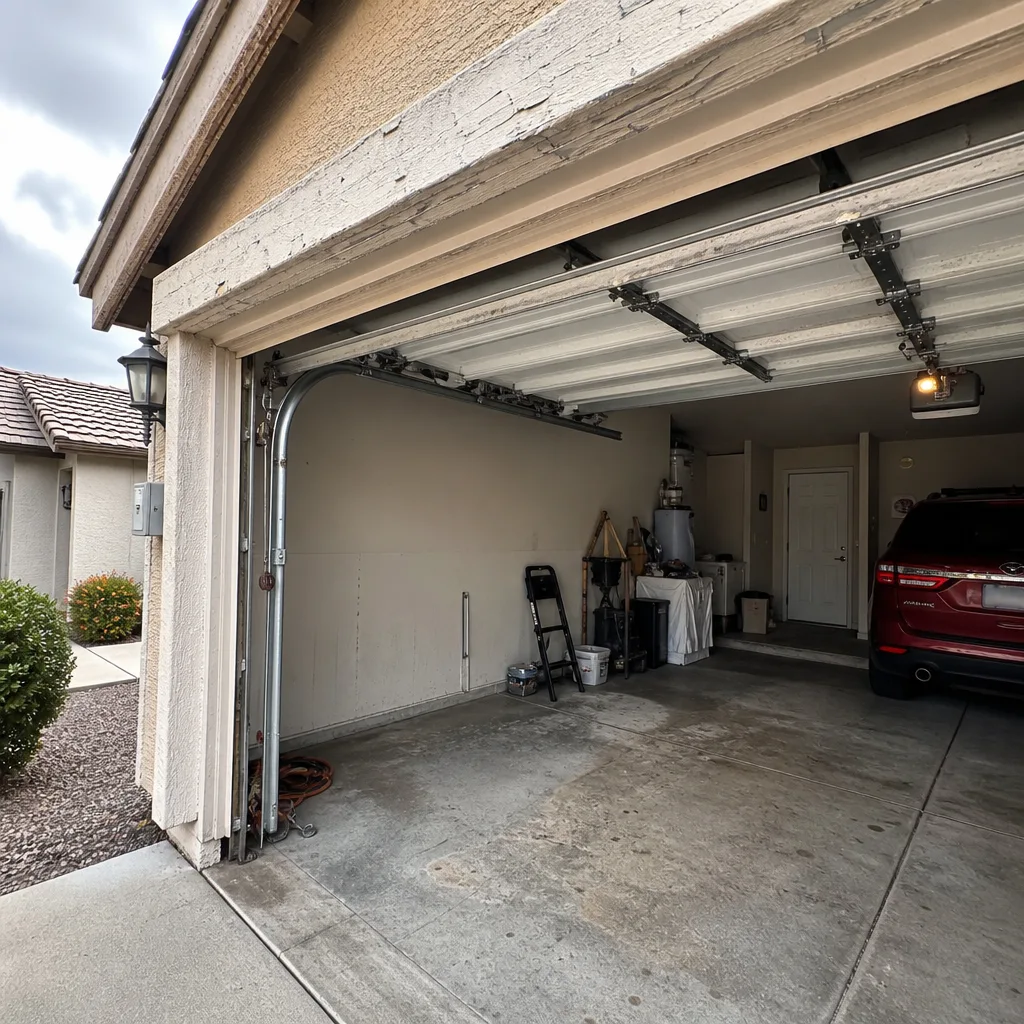 Before
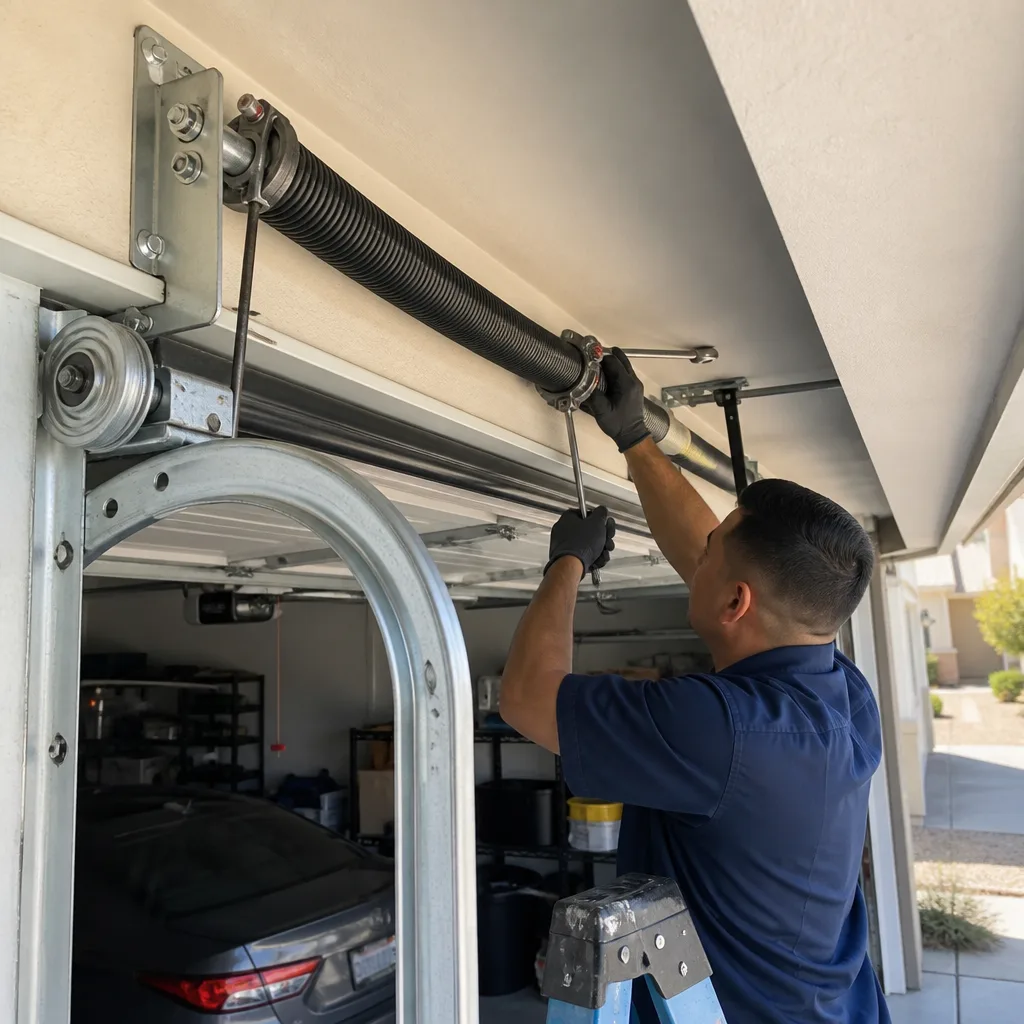 After
AfterGarage Door Repair Maintenance Checklist for Surprise Homeowners
Here’s the counterintuitive truth we’ve documented across thousands of service calls in Surprise: most garage door failures between June and August aren’t caused by age or neglect. They’re caused by lubricant. The grease applied during a spring install in a Phoenix suburb becomes a grit-catching paste by the time dust storm season hits, and most homeowners re-lubricate on a calendar schedule rather than a condition one. This checklist is built from what we’ve photographed and replaced across Surprise since 2015, not from manufacturer talking points, and complements our Garage Door Warning Signs: A Surprise Homeowner’s Reference Guide. You’ll learn the four failure points that drive emergency calls in the West Valley, how to spot them before they strand your car in the driveway, and what documentation you should keep so any repair quote you eventually receive is grounded in evidence, not a sales script.
Quick Answer
A garage door maintenance checklist for Surprise homeowners should prioritize four items most generic lists miss: condition-based lubrication that accounts for dust storm grit, a monthly manual lift test to catch spring fatigue before it snaps, bottom seal inspection with attention to caliche-related slab movement, and photo documentation of wear points so you have a baseline record before anything fails. Run this checklist every 60 days during monsoon season and every 90 days the rest of the year. The full routine below takes under 20 minutes and catches the failures we see most often in Surprise emergency calls.
Table of Contents
- 1. Condition-Based Lubrication: Why Surprise Dust Changes the Rules
- 2. The Manual Lift Test: Checking Spring Tension Without Tools
- 3. Bottom Seal Inspection: Caliche, Slab Movement, and the Gaps Standard Seals Miss
- 4. The Top Seal: The Weatherstripping Location Most Checklists Omit
- 5. Photo Documentation: Building a Baseline Record Before Anything Fails
- 6. Hardware Torque Check: Rollers, Hinges, and Track Bolts
- 7. Opener Safety and Force Settings: What to Test Monthly
- 8. The Surprise Seasonal Schedule: When to Run What
BeforeAfter1. Condition-Based Lubrication: Why Surprise Dust Changes the Rules
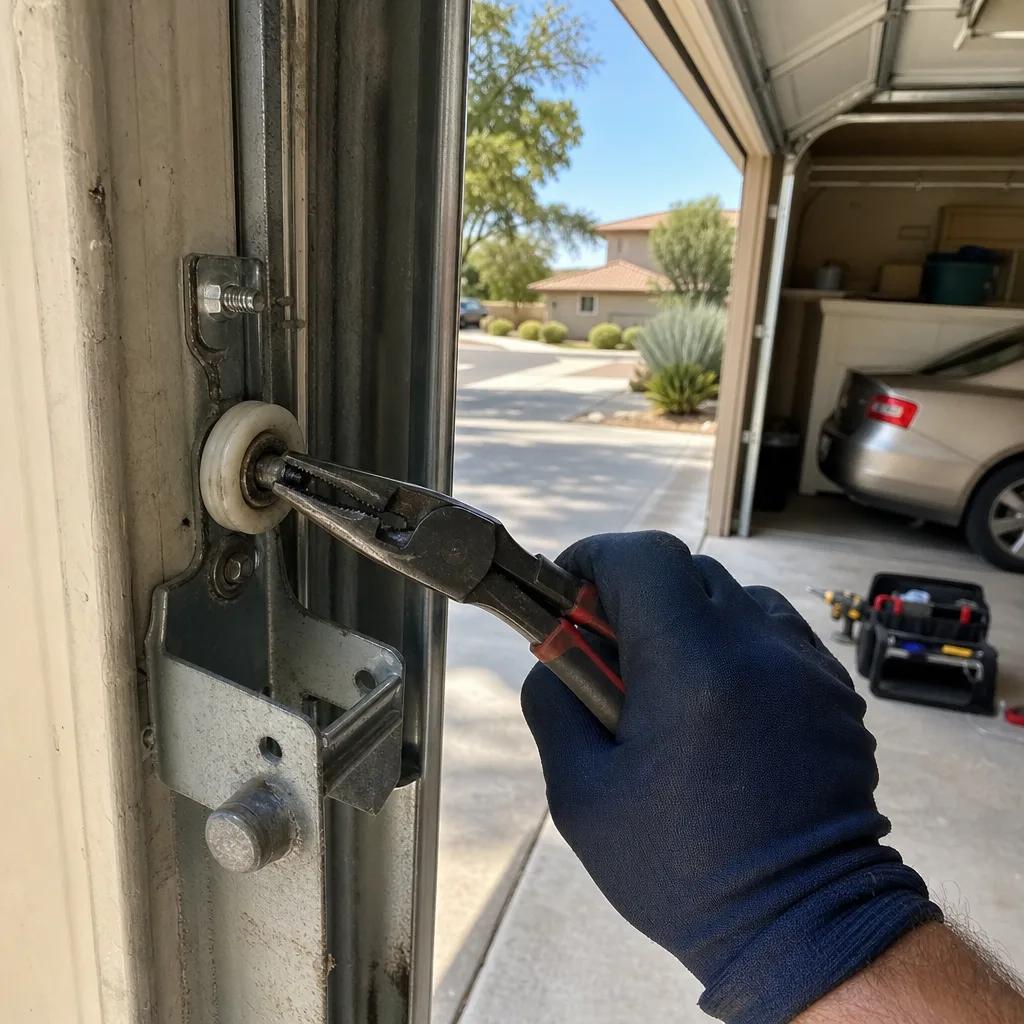
Every manufacturer manual says to lubricate your garage door every six months. That advice was not written for Surprise. In our experience, a door lubricated with a standard white lithium grease in March will have a grinding, sand-laden paste on its rollers and hinges by late June. The dust storms that sweep through the West Valley leave a fine silt that adheres to wet lubricants and turns them abrasive. That abrasive paste accelerates roller wear, loads the opener motor beyond its rated draw, and shortens torsion spring life measurably.
The fix is not to lubricate more often. It’s to lubricate on condition and to choose a formulation that resists sand embedment. Here’s what we tell Surprise homeowners:
- Use a dry-film lubricant, not a wet grease. A PTFE or graphite-based dry lubricant leaves a slick film that dust cannot penetrate the way it sinks into grease. Brands like Blaster’s Garage Door Lubricant or WD-40 Specialist Dry Lube work. Avoid white lithium grease entirely in Surprise; it is a dust magnet.
- Check by touch before you apply. Wipe your finger across the roller stem or hinge pin. If you feel any grit texture, the existing lubricant has already captured dust and needs to be cleaned off before re-lubricating. Applying fresh lubricant over contaminated lubricant just seals the grit in.
- Lubricate the rollers only at the stem and bearing, not the wheel face. The wheel rolls along the track; lubricating the face only attracts more dust and does nothing for the bearing where the wear actually happens.
- Hit the torsion spring coils lightly. A light coat on the spring itself reduces coil friction as the spring winds and unwinds. Do not soak it; oversaturation creates the paste problem faster.
- After any dust storm warning, wipe and inspect. You don’t necessarily need to re-lubricate, but blowing the track and rollers clear with compressed air or a dry rag prevents the next lubricant application from turning into sandpaper.
The failure we see most often from this specific neglect is a worn roller stem shearing off inside the track. That is a $220 to $380 repair that was avoidable with a $12 can of dry lubricant. For homeowners who want the whole system looked at by someone who will show them the wear before quoting a fix, our Garage Door Repair in Surprise service includes a documented photo record of every component we inspect.
2. The Manual Lift Test: Checking Spring Tension Without Tools
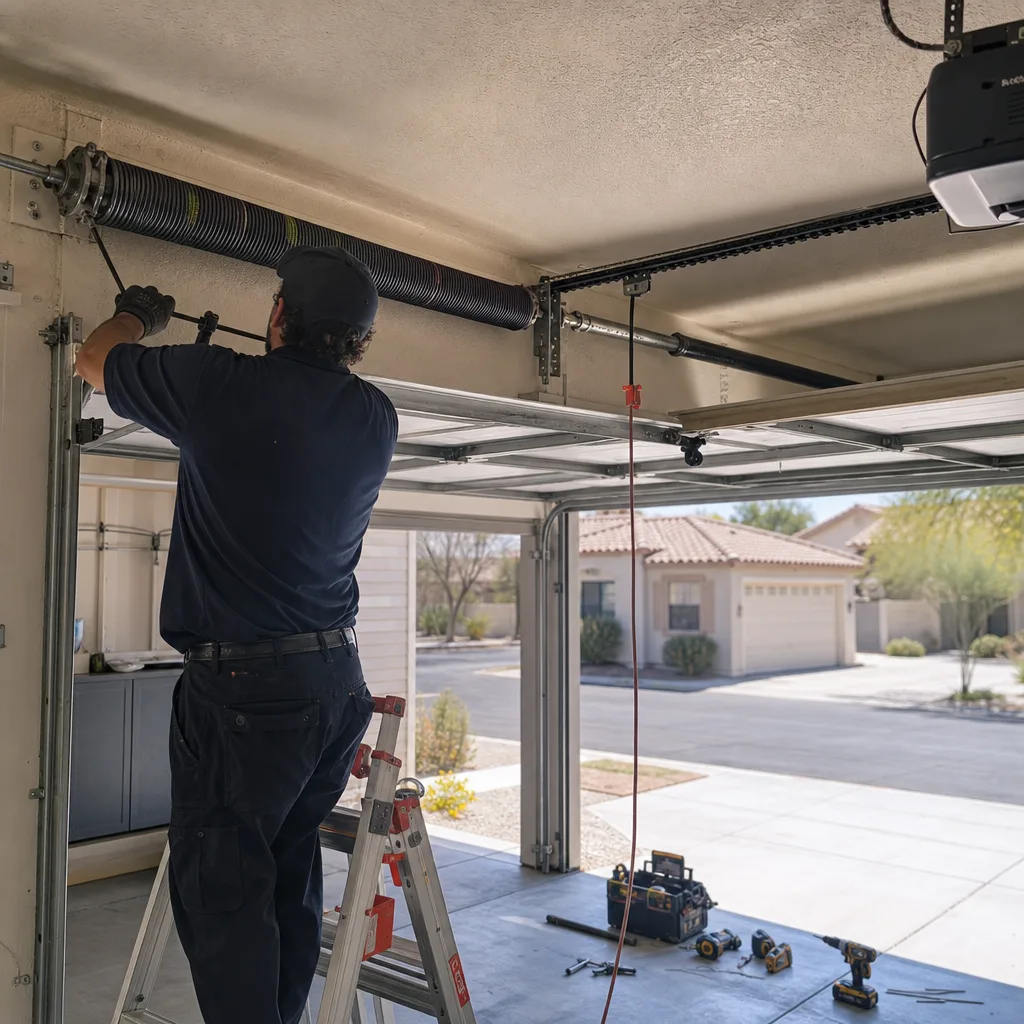
Torsion springs do not fail without warning in most cases. They sag, lose tension incrementally, and then snap, usually at the worst possible time: early morning when you’re already late, or right before a trip. The manual lift test catches that sag weeks or months before the snap. It requires no tools, no disassembly, and about 60 seconds.
Here is the procedure we walk our Surprise customers through on the phone when they call in with a “door feels heavy” complaint:
- Close the door completely. Pull the red emergency release cord to disconnect the door from the opener carriage. The door should now move freely by hand.
- Lift the door to about waist height and let go. A properly balanced door will stay roughly in place, drifting neither up nor down more than a few inches.
- Test at three positions. Repeat the half-open test at one-quarter, one-half, and three-quarters open. A balanced door holds at all three. A door that drops from any position is telling you the springs are under-tensioned for the door’s weight.
- Lower the door back down. A door that slams down when lowered is further confirmation of spring fatigue; healthy springs resist the descent and let the door settle gently.
- Reconnect the door. Pull the release cord again and run the opener once to re-engage the carriage.
What resistance is normal? You should be able to lift the door with one hand using about 10 to 15 pounds of force. If it takes two hands or feels like lifting a sheet of plywood, the springs have lost tension and the opener motor is compensating, which shortens opener life rapidly. If the door feels balanced but creaks sharply at any point in the travel, you’re hearing a spring coil binding, which is also a precursor to failure.
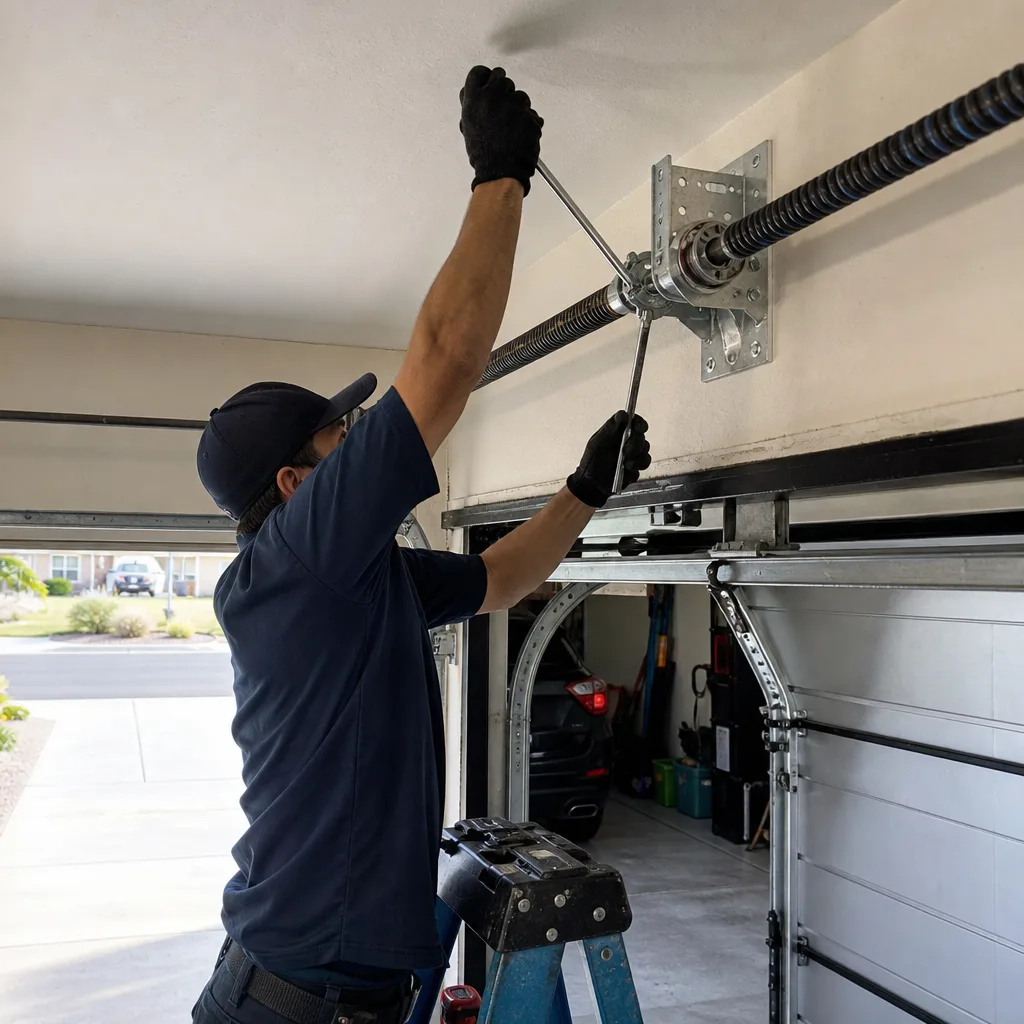
A word of caution we give every homeowner: if the door drops hard from the half-open position, do not continue testing and do not try to adjust the springs yourself. Torsion springs under tension store enough energy to cause serious injury or death. Call a professional. The spring has a finite service life measured in cycles, typically 10,000 for a standard torsion spring, and much of Surprise’s housing stock built between 2005 and 2018 is reaching that cycle count roughly now. That is a fact worth knowing even if it isn’t comfortable.
3. Bottom Seal Inspection: Caliche, Slab Movement, and the Gaps Standard Seals Miss
Surprise builds on caliche, the hard calcium carbonate deposit that sits under much of the West Valley’s topsoil. Caliche expands and contracts with moisture changes, and slabs poured on it move more than slabs in other parts of the Phoenix metro. We see the result inside garages all over Surprise: bottom seals that fit flush at installation but now show daylight at the corners, where the slab has settled or heaved by a half inch or more.
A standard flat bottom seal, the U-shaped rubber strip that slides into the aluminum retainer on the door’s bottom edge, cannot bridge a corner gap. When the slab moves, the seal lifts with the door, and the gap at the corner opens. Here’s what to check and what to do about it:
- Inspect at dawn or dusk with the door closed. Look along the bottom edge from inside the garage. Any sliver of light means a gap, and any gap means monsoon water, dust, and scorpions have an entry point.
- Pay attention to the corners specifically. Slab movement rarely creates a uniform gap. Surprise homeowners often find the seal is tight along the middle of the door but open at one or both corners. That pattern is a structural settlement signal, not a seal failure.
- Consider a thicker or double-lipped seal for corner gaps under 1/2 inch. A 6-inch U-bottom seal with a larger profile can compress to fill smaller corner voids. For gaps over 1/2 inch, the door itself needs a re-level or the retainer needs an offset shim; a new seal alone will not fix it.
- Replace a seal that is stiff or cracked. The Arizona sun hardens rubber seals fast. If the seal feels brittle when you pinch it, it has lost its ability to compress and needs replacement. This is a $40 to $90 part depending on door width and seal profile.
- Check the retainer for damage while you’re down there. The aluminum retainer that holds the seal will bend if a car tire has caught it or if the slab has moved against it. A bent retainer will cause a new seal to fit poorly, so straighten or replace it before installing new rubber.
If you find corner gaps and thicker seals aren’t working, it’s worth having a technician evaluate the door’s level. We regularly find doors in Surprise that are a half inch out of level at the header, a condition that causes uneven seal wear and puts uneven load on the springs. The Garage Door Installation in Surprise team can measure that for you and show you the reading.
4. The Top Seal: The Weatherstripping Location Most Checklists Omit
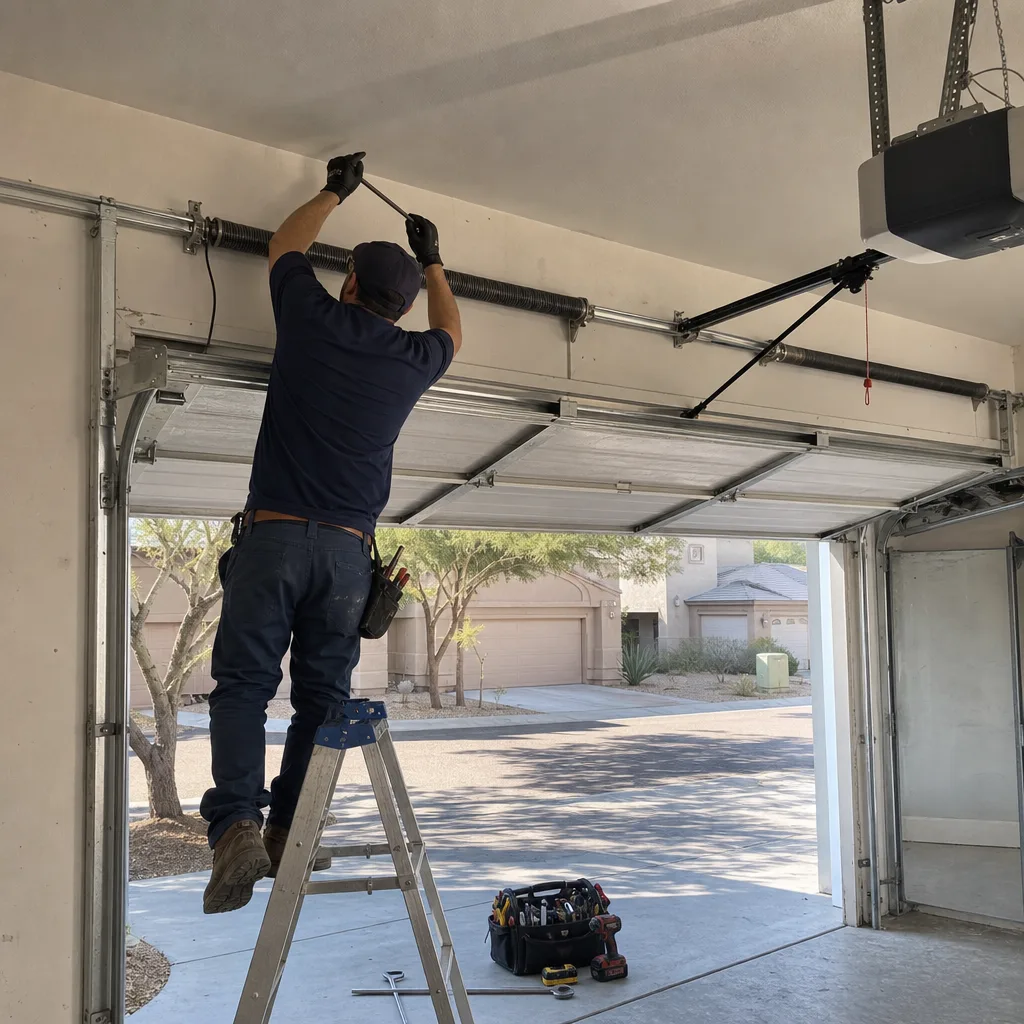
Almost every garage door maintenance checklist mentions the bottom seal. Almost none mention the top seal. In Surprise, the top seal matters as much as the bottom one, because monsoon rain doesn’t always fall straight down. Wind drives it horizontally against the door face, and water that hits the top edge of a closed door gets pushed into the gap between the door and the header. From there it runs along the inside of the header bracket, down the torsion bar, and onto the spring.
That water intrusion pattern is the one we see repeatedly in Surprise homes where the garage faces south or west, directly into the storm track. Here’s what to check:
- Look above the door with the door closed. There should be a rubber or vinyl weatherstrip running the full width of the header, sealing the top edge of the door against the frame. If it’s missing, torn, or has hardened to the consistency of plastic, it’s no longer sealing.
- Check for water staining on the header bracket. Rust streaks, mineral deposits, or peeling paint around the bracket that holds the torsion bar are signs that water has been getting past the top seal. The bracket itself may be rusting.
- Feel the torsion spring for rust after rain. A surface film of rust on the spring coils means water is reaching the spring. Rust on a spring is more than cosmetic; it creates stress risers at the rust pitting that become fracture points.
- Inspect the top seal after any wind-driven rain event. Monsoon storms are the test. If you see water beaded on the inside face of the door under the header, the seal has failed even if it looks fine from the outside.
Replacing a top seal is a straightforward job: the seal is typically nailed or stapled into the header jamb and pulls out with a flat pry bar. New seals cost $15 to $40 depending on door width and profile. But if the top seal has been failed for a while, the damage may already be done to the header bracket or the torsion bar. Rust on the torsion bar is a replacement issue. We photograph that rust and show it to the customer before any quote, because Clause 4 of The Haven Standard is why the technician photographs the failed part before quoting a replacement. No one should be quoted a spring replacement without seeing the rust or the break.
5. Photo Documentation: Building a Baseline Record Before Anything Fails
The single most useful maintenance habit a Surprise homeowner can build is not mechanical at all. It’s photographic. You want a dated visual record of your door’s condition so that when something does fail, you have a before picture. That before picture changes the entire dynamic of a repair conversation: you’re not trusting a technician’s word; you’re comparing his finding against your own documentation.
Here’s the photo routine we recommend, and it’s the same routine our technicians follow when they work on any Servo Garage Doors Surprise home:
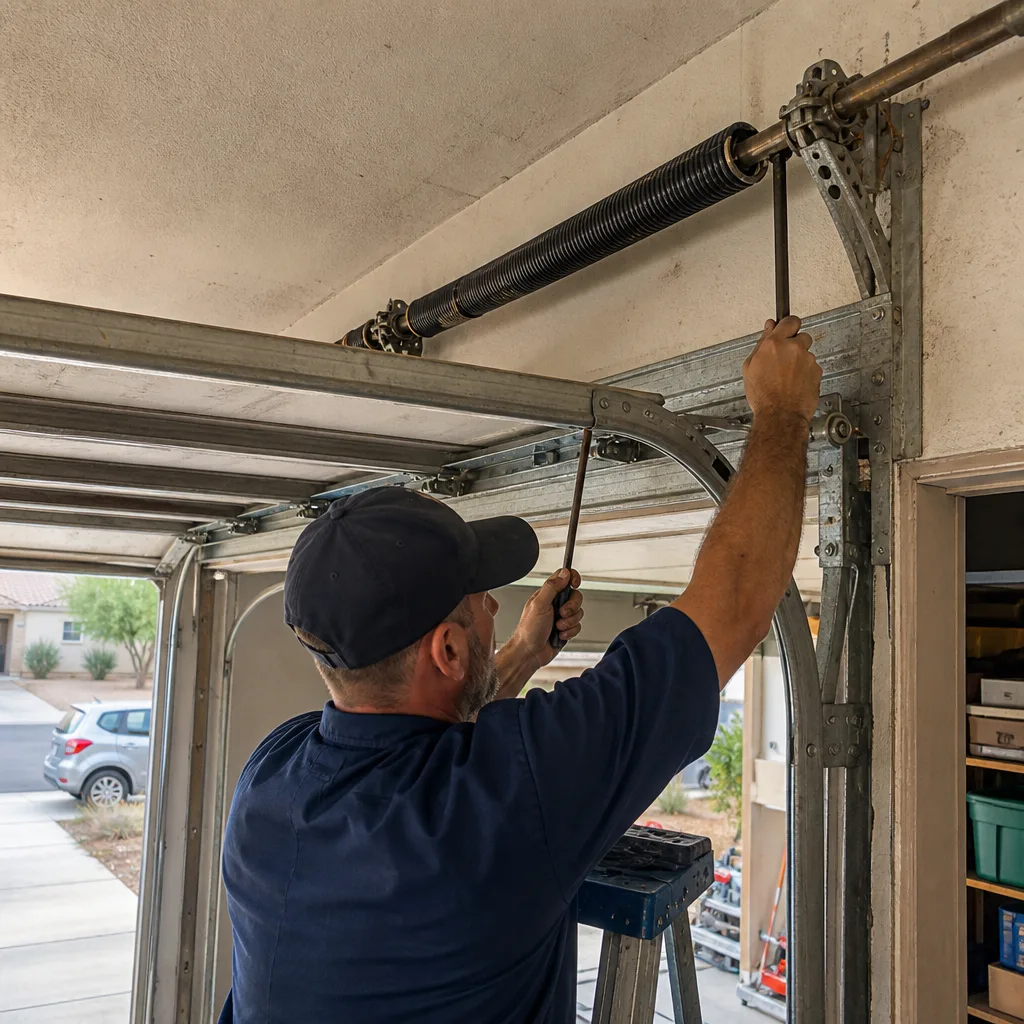
- Photograph both torsion springs, close up. You’re looking for rust pitting, coil separation, or any visible deformation. A spring with a clean break will be obvious later; a spring with early rust won’t be unless you have the early photo to compare.
- Photograph the bottom seal corners. Both corners, from inside, at floor level. This documents the slab-to-seal fit and shows any gap growth over time.
- Photograph each roller and hinge. Move the door to the open position and shoot each roller from the inside. You’re documenting roller wear, stem condition, and hinge integrity.
- Photograph the opener rail and trolley carriage. A shot down the length of the rail, from the motor end, captures the carriage position and any chain or belt sag.
- Photograph the header bracket and top seal. This is the water intrusion point and the one most people skip. Shoot it from a ladder or a phone reach if you can.
- Date-stamp everything. Most phone cameras embed metadata, but if yours doesn’t, write the date on a piece of paper and include it in the frame. The value of the record is chronological.
Store the photos in a folder on your phone or cloud drive. When something fails, you have a baseline. When a technician says “your spring has been rusting for a while,” you can either confirm that from your photos or ask why it didn’t show in the ones you took three months ago. Our technicians deliver a documented photo record on every visit for exactly this reason: the customer sees what was found and what was done, in pictures, before the invoice is finalized.
This documentation habit also makes remote quoting possible. If you text a photo of a failed spring to a service company, a competent tech can quote the replacement over the phone from the photo and the door model. That’s the written-price-first difference: the price range comes from evidence, not from a technician standing in your driveway sizing up the house.
6. Hardware Torque Check: Rollers, Hinges, and Track Bolts
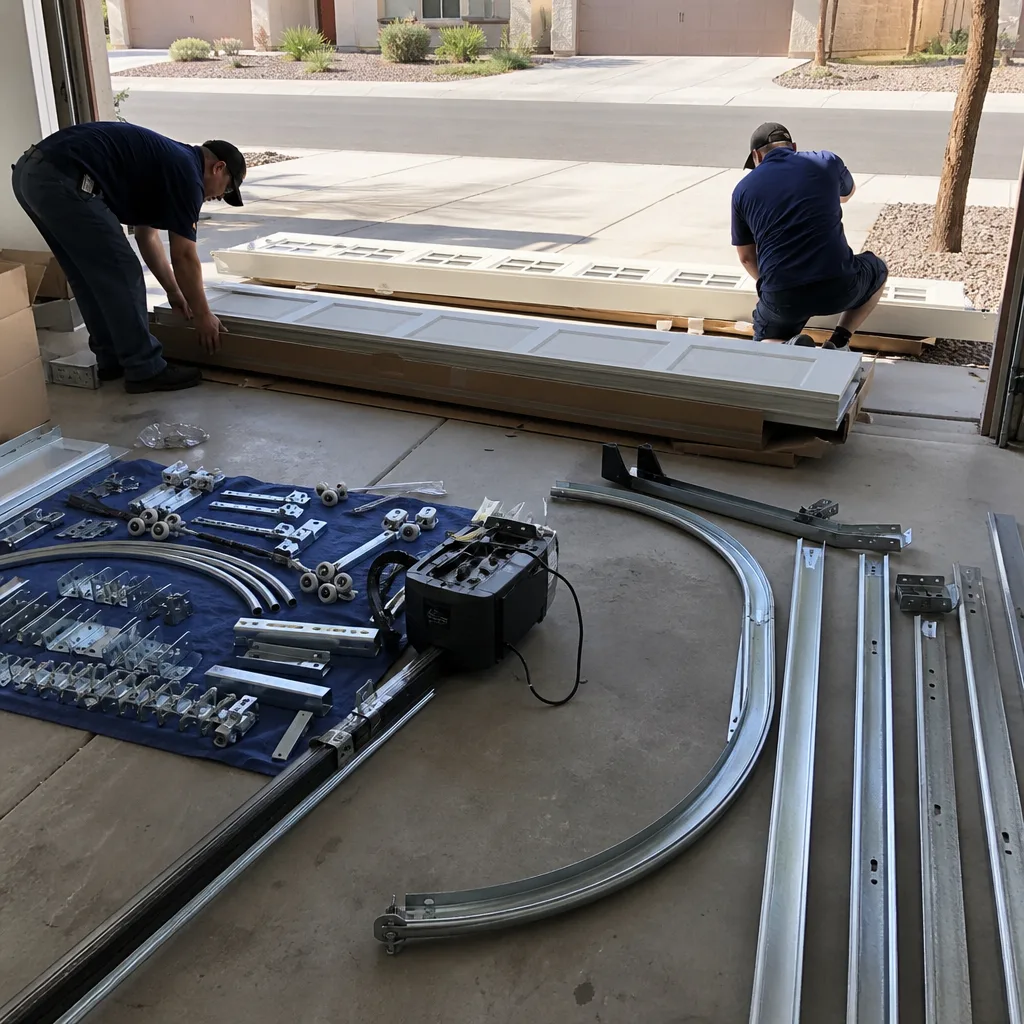
Every cycle of your garage door loads and unloads about 60 separate hardware connections: hinge bolts, roller stems, track brackets, and the bolts that hold the opener rail to the header and motor. Vibration works those fasteners loose over time, and a door that rattles is a door that is slowly walking its hardware toward failure. The torque check takes ten minutes and catches loose connections before they become bent components.
What to check and what to do:
- Hinge bolts. There are typically four hinges per door panel, each held by two to four bolts depending on the panel height. A 7/16-inch socket fits most. Work the door panel by panel, tightening any bolt that moves with hand pressure. Do not over-torque; the bolts thread into steel stiles that will strip if forced.
- Track brackets. The vertical and horizontal tracks are held to the wall and ceiling by lag bolts every 18 to 24 inches. Loose lags let the track shift laterally, which causes the rollers to bind and wear unevenly. A 1/2-inch or 9/16-inch socket handles most. If a lag spins without tightening, the hole is stripped and needs a larger lag or a repositioned bracket.
- Roller stems. Rollers wear at the stem where they mount into the hinge. A roller with visible side-to-side play in the hinge is on its way out. Nylon rollers with sealed bearings last 10,000 to 15,000 cycles in Surprise conditions; steel rollers with unsealed bearings last half that and make more noise doing it.
- Opener rail bolts. The rail that carries the trolley carriage bolts to the header bracket and the motor housing. If either end is loose, the rail flexes during operation, causing the carriage to bounce and the door to run unevenly. Tighten both ends every six months.
- Garage door struts. The horizontal metal struts across each panel, if your door has them, are bolted through the panel. Loose strut bolts show up as panel flex when the door is mid-travel. A door that visibly flexes is putting stress on the hinges and springs.
One note on the tools: this is a hand-torque job, not an impact-driver job. An impact driver will overtighten and strip the threads. We use hand sockets on hardware this size for a reason, and it’s the same reason we include the torque check in our service calls for Garage Door Opener Repair & Installation in Surprise.
7. Opener Safety and Force Settings: What to Test Monthly
The garage door opener is the component Surprise homeowners interact with most and inspect least. It has two safety systems worth testing monthly, and one force setting worth understanding so you can catch a door that’s working harder than it should.
Auto-reverse test. Place a 2×4 flat on the floor under the door’s path and close the door. The door should reverse within two seconds of contact with the board and return to the open position. If it doesn’t reverse, the force setting is too high or the safety sensor is misaligned. This is a UL-mandated safety feature on every opener manufactured after 1993, and it’s the difference between a dented panel and an injured child or pet. Test it monthly.
Photo-eye alignment test. The two sensors on either side of the door track, about six inches off the floor, project an invisible beam. If anything crosses that beam while the door is closing, the door reverses. Test it by closing the door and passing your foot through the beam path at mid-close. The door should reverse immediately. If it doesn’t, clean the sensor lenses with a dry cloth and check that both LED indicators are lit. Misaligned photo-eyes are the single most common opener service call we run in Surprise, and the fix is usually a two-minute realignment.
Force setting awareness. The opener’s force dial or setting determines how much resistance the motor will push against before reversing or stopping. A balanced door requires low force; a door with weakening springs requires high force. If you’ve noticed the opener straining, or if a technician ever tells you the force is “maxed out,” the opener is compensating for a door problem. Fix the door, not the setting. Running an opener at maximum force for months is how you burn out a logic board, a $180 to $300 repair on a LiftMaster or Chamberlain opener.
For opener-specific failures, the brands we service most often in Surprise are LiftMaster and Genie, and the failure patterns differ: LiftMaster logic boards are typically killed by power surges, while Genie units show more carriage and limit switch wear. Both can be replaced same-day in most cases, but the price should be quoted before any work begins, which is how our written-price-first system handles opener jobs.
8. The Surprise Seasonal Schedule: When to Run What
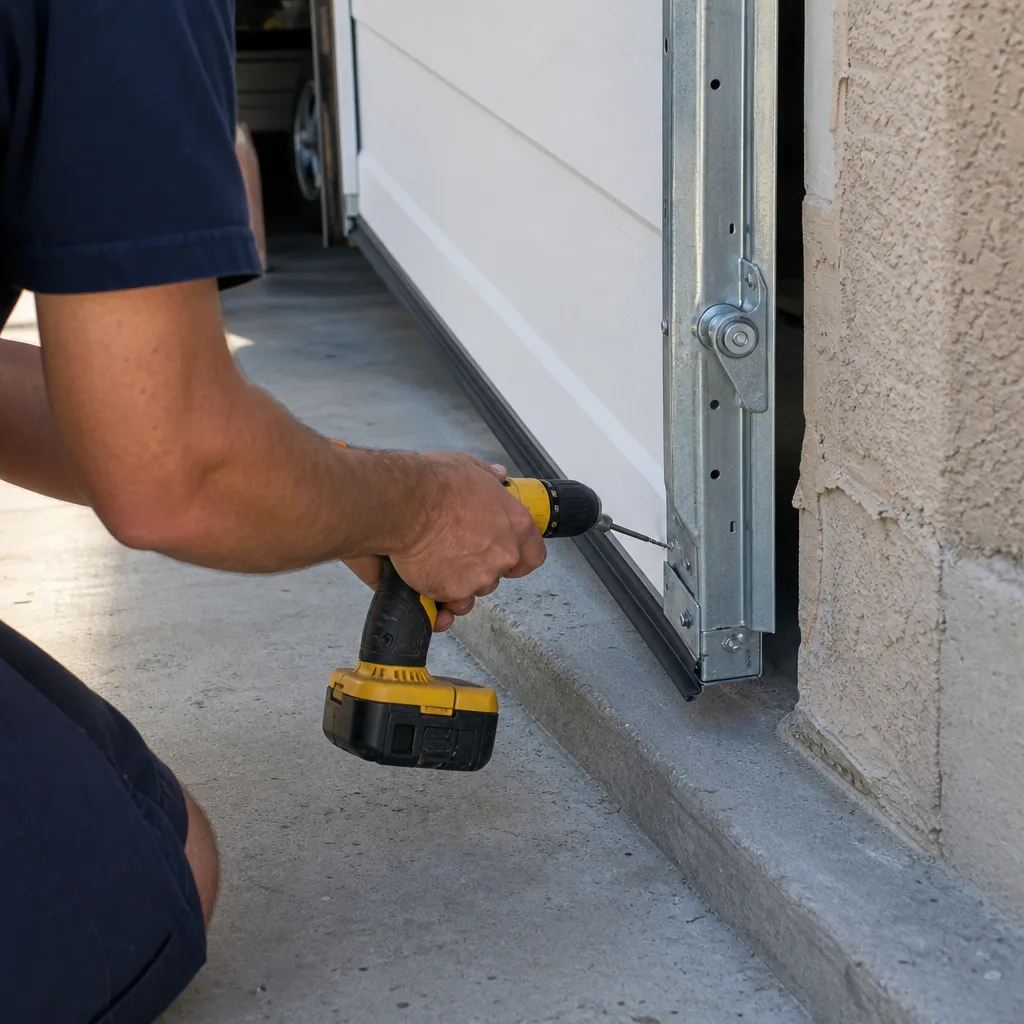
Surprise doesn’t have four seasons. It has two maintenance seasons, and they demand different things from your garage door. Here’s the schedule that aligns with how the West Valley actually behaves:
Late April to early May: Pre-monsoon preparation. This is the most important maintenance window of the year. Run the full checklist: lift test, seal inspection, hardware torque, opener safety tests, and the photo documentation routine. Address any seal gaps before the first monsoon storm. Re-lubricate with a dry-film product if the spring and rollers feel dry to the touch. This is also when you want to address any spring imbalance, because a spring that’s sagging in May will fail in August, and emergency calls during monsoon season get expensive in terms of both money and wait times.
Late September to early October: Post-monsoon inspection. After the storms pass, run the checklist again with special attention to the top seal and the header bracket. Look for water staining, rust streaks, and any grit accumulation in the roller tracks. Monsoon dust works its way into the track channels and gets packed into the roller bearings. Blow the tracks clean with compressed air and re-check the bottom seal for dust deposits that indicate a gap.
December to January: Cold-weather check. Surprise doesn’t often freeze, but when it does, the cold makes metal contract and reveals problems that are invisible in warm weather. Run the lift test in the coldest stretch of winter; a door that felt balanced in June may drop hard in December because the cold has made the torsion spring stiffer. Check the opener force settings, because cold weather adds resistance to the door travel and a door that was marginal in summer may trigger the auto-reverse in winter.
After any significant dust storm: spot check. You don’t need the full checklist. Just open and close the door once, listening for new grinding or squealing, and wipe the track channels clean. Dust storms embed grit where lubricant lives, and catching it early prevents the paste problem described in section one.
The homeowner who runs these four seasonal checkpoints catches nearly every failure mode before it becomes an emergency. We’ve documented that pattern across 18,000+ garage doors made right since 2015, every one with a written price before work started and a documented record when the technician left. The homes that call us for a $150 seal replacement in May are not the homes calling for a $400 emergency spring replacement in July.
Common Mistakes to Avoid
- Using white lithium grease in a dust-prone climate. White lithium is the wrong product for Surprise. It holds dust and turns into an abrasive slurry that wears rollers and springs faster. Use a dry-film PTFE lubricant instead.
- Lubricating on a calendar instead of by condition. Six months is a manufacturer average, not a Surprise-specific interval. Check the rollers and spring by touch every 60 days during summer and lubricate only when they feel dry or show grit.
- Ignoring a door that drops during the lift test. A door that won’t hold at half-open is a spring under tension failure waiting to happen. When the spring snaps, the door becomes a dead weight and the opener cannot lift it. Don’t wait for the snap.
- Replacing only the bottom seal when the slab has moved. If the slab corners have settled, a new flat seal will still show daylight. Either use a thicker profile seal or have the door re-leveled. Replacing the same part and expecting a different result is the expensive version of this mistake.
- Skipping the top seal entirely. Most checklists, including the ones from major manufacturers, don’t mention the top seal. In Surprise, horizontal monsoon rain makes it a primary water intrusion point. Check it every spring.
- Adjusting the torsion spring yourself. We’re explicit about this: do not attempt torsion spring adjustment without training and the correct winding bars. The stored energy in a wound spring can kill. Call someone who does this work daily and carries the license and insurance to prove it.
- Not photographing your door before it fails. Without a baseline photo, you’re taking a technician’s word on what changed. With a baseline, you’re comparing evidence against evidence. The photo habit costs nothing and changes the entire dynamic of a repair conversation.
When to Call a Professional
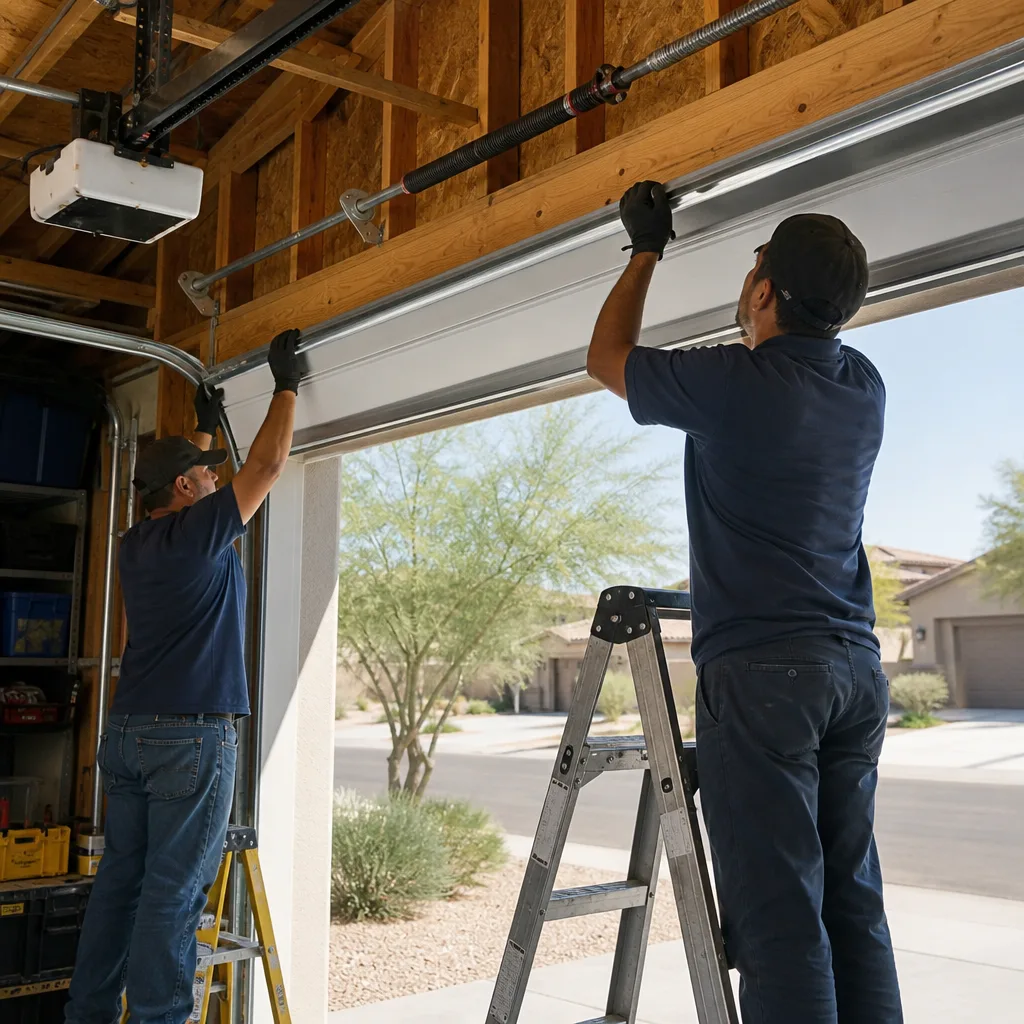
Call a professional when any of these conditions appears: the door drops hard during the lift test, the torsion spring shows rust pitting or coil separation, the opener auto-reverse fails the 2×4 test, the photo-eyes cannot be realigned, the top seal has allowed water to reach the torsion bar, or the slab movement has created corner gaps that a thicker seal won’t bridge. All of these are either dangerous to address without training or indicate underlying problems that a component replacement won’t solve. Servo Garage Doors Surprise offers free estimates in Surprise, and every quote arrives as a flat written price with a written scope before any work starts. Call (928) 588-1812 and describe what you’re seeing; we’ll tell you whether it can wait or needs attention now.
Frequently Asked Questions
Lubricate on condition, not on a calendar. Check the rollers, hinges, and torsion spring by touch every 60 days during summer and every 90 days during winter. Apply a dry-film PTFE lubricant only when the components feel dry or show visible grit. White lithium grease is the wrong product for Surprise’s dust storm conditions and should be avoided entirely.
A DIY maintenance pass, including a can of dry-film lubricant and replacement weatherstripping if needed, runs $30 to $120 depending on what you replace. A professional maintenance visit with hardware torque, spring inspection, seal replacement, and opener safety testing typically runs $120 to $200 in Surprise. Call (928) 588-1812 for an exact quote; estimates are free and written before any work starts.
The most common summer failure we see is a snapped torsion spring, usually preceded by weeks of a door that drops during the manual lift test and an opener that strains audibly. The heat and dust load in Surprise accelerate spring fatigue, especially on doors that were installed before 2015 and are approaching the end of their rated cycle life.
No. Torsion springs store enough energy under tension to cause fatal injury if they release while you’re working on them. The winding bars, the procedure, and the risk profile all call for a trained technician. What you can do safely is the manual lift test described above: if the door drops or feels heavy, call a professional rather than adjusting anything.
Gaps at the bottom corners are usually a slab settlement issue, not a seal failure. Surprise’s caliche substrate moves with moisture changes, and slabs shift by fractions of an inch over time. A thicker profile seal can bridge gaps under a half inch; larger gaps require the door to be re-leveled. Replacing the seal without addressing the slab movement will not close the gap.
Photograph both torsion springs, both bottom seal corners from inside, each roller and hinge with the door open, the opener rail and trolley carriage, and the header bracket with the top seal. Date-stamp each photo. This baseline record lets you compare condition over time and gives any technician you hire evidence to work from before a quote is issued. Call (928) 588-1812 if a photo shows something concerning; we’ll walk you through what you’re seeing.
The Bottom Line
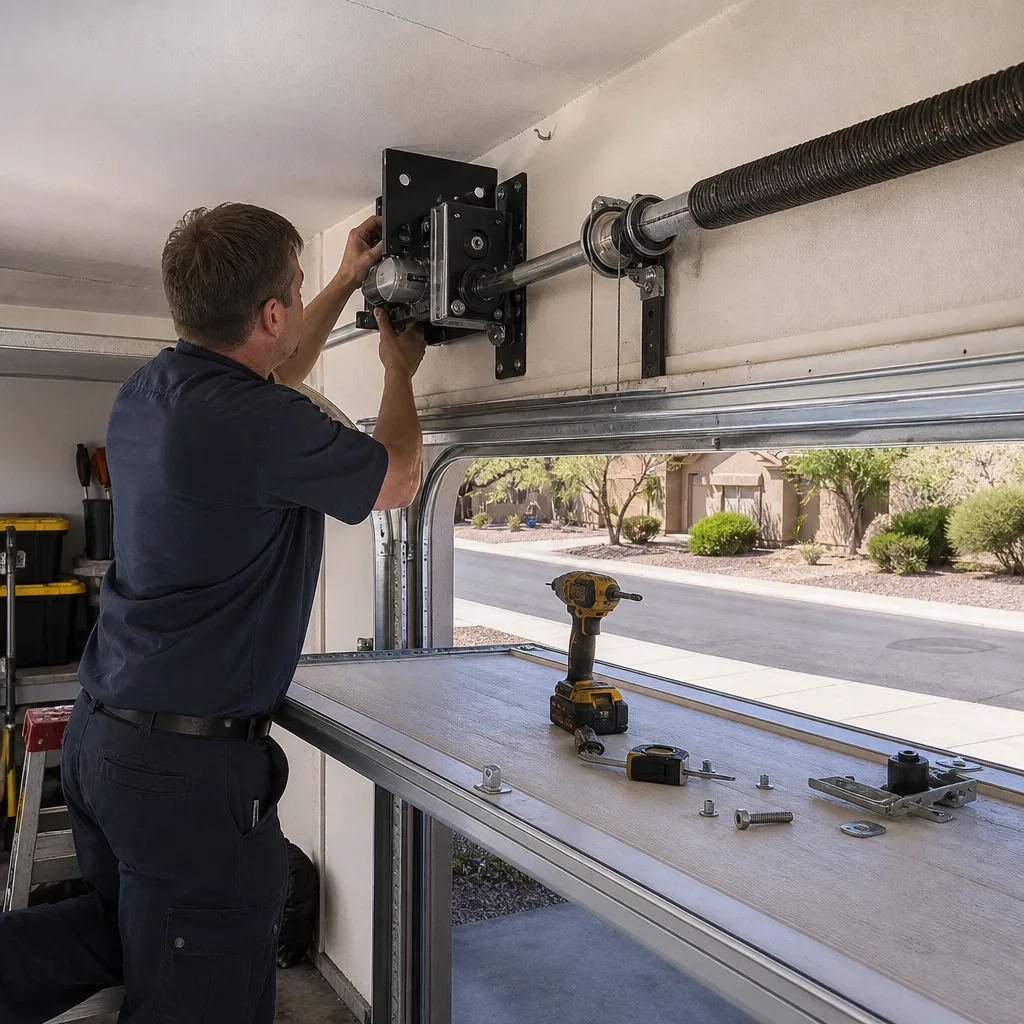
A maintenance checklist written for Surprise has to address what Surprise does to garage doors: dust that turns grease into grit, caliche that shifts slabs, monsoon rain that enters horizontally, and heat that accelerates spring fatigue. The five practices that matter most are condition-based lubrication with a dry-film product, the monthly manual lift test, bottom seal inspection with attention to slab movement, top seal inspection that most checklists skip, and photo documentation that gives you a baseline before anything fails. Run the checklist every 60 days during summer and every 90 days in winter, and call a professional for anything involving spring tension, opener force settings, or water damage to the torsion system. The goal is to catch a $30 seal or a $150 spring inspection before it becomes a $400 emergency call in July.
Written by Marcus Deller, Owner at Servo Garage Doors Surprise, serving Surprise since 2015.
For a free written estimate on any garage door repair or maintenance work in Surprise, call us at (928) 588-1812, and explore our more guides & resources for year-round maintenance tips. We quote a flat price and a written scope before any work begins, and every visit ends with a documented photo record of what we found and what we did.